
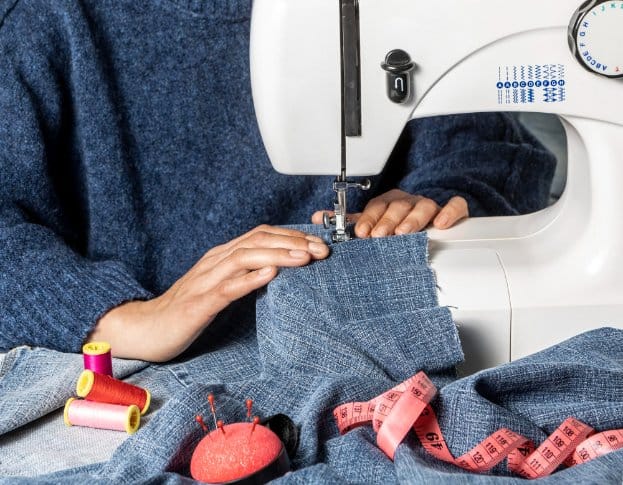
Everything the home sewist needs to know about cutting, stitching, pressing, and finishing chambray fabric, from choosing the right needle to troubleshooting common problems.
Of all the woven fabrics a home sewist can choose, chambray is one of the most forgiving and rewarding. It behaves well on the machine, presses beautifully, takes a clean seam, and the finished result looks polished without requiring advanced skills.
As noted by experienced garment sewists at Sewing With Ease, chambray is often recommended to newer sewists who want the look of denim without the challenges of heavy fabric. If you have worked with quilting cotton before, chambray will feel immediately familiar. It has a similar weight, similar stability, and similar handling characteristics.
That said, chambray has its own specific personality. It is prone to fraying at cut edges, has a slight tendency to shift when you pin and cut, and its lighter weight means opacity can be an issue for some garments. This guide covers all of it, from pre-washing and prep right through to finishing and troubleshooting.

Why Sewists Love Chambray

Chambray sits in a sweet spot that not many fabrics occupy. It is lightweight but stable. It has a denim-like appearance but handles far more like shirting cotton. And because it is a plain-weave fabric, it does not have a directional grain in the same complex way that some other fabrics do, which simplifies layout and cutting.
Here is why chambray comes up time and again on recommended fabric lists for home sewists:
- Stable plain weave means it does not stretch, distort, or shift the way some wovens do
- Takes a clean, crisp pressed seam beautifully, which gives handmade garments a professional finish
- Sews on any standard home machine with no special settings needed for its weight class
- Widely available in fabric stores, online, and in a broad range of colors beyond the classic indigo
- Affordable to practice with, making it ideal for muslins and toiles before cutting into more expensive fabric
- Gets softer with washing, so every finished garment improves over time
- Suited to a wide range of project types: shirts, blouses, dresses, skirts, home decor, accessories
Before You Cut: Pre-Washing and Prep
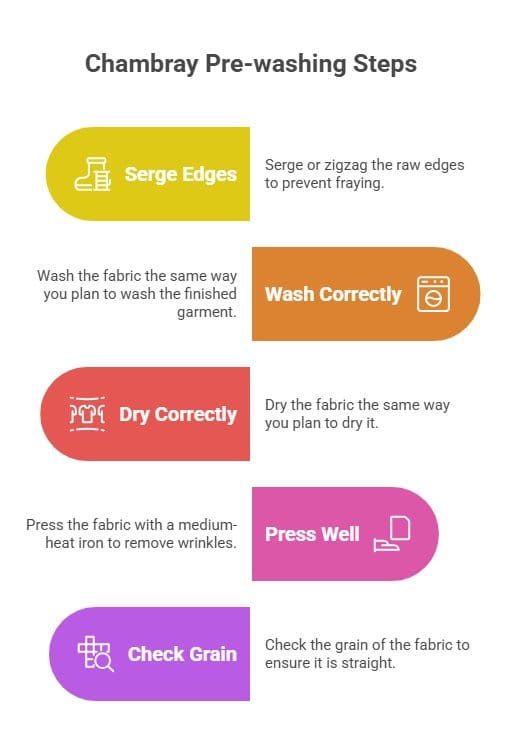
This is not a step you can skip with chambray. Because it is typically 100% cotton, it will shrink in the wash, and the last thing you want is a beautifully sewn shirt that no longer fits after its first laundering.
How to pre-wash chambray
Serge or zigzag the raw edges first
Chambray frays readily once cut. Before washing your yardage, run a serger or wide zigzag stitch along the cut ends to stop the edges unraveling in the machine.
Wash the way you plan to wash the finished garment
If you will machine wash cold when the garment is finished, pre-wash cold. If you plan to wash warm, pre-wash warm. The goal is to pre-shrink the fabric under the same conditions it will face in use.
Dry the same way you plan to dry it
Tumble dry on low if that is your normal method, or air dry. Most of the shrinkage happens in the first wash and dry cycle, so after this step your fabric should be stable.
Press well before cutting
After drying, press the fabric with a medium-heat iron to remove any distortion or wrinkling introduced during washing. Lay it flat and smooth to check the grain is straight before you cut.
Check the grain
Pull a thread from the crosswise grain to find a true straight line, or hold the fabric up and check that the warp and weft threads are perpendicular. If the grain is off, gently pull the fabric on the bias to correct it before cutting your pattern pieces.
The Right Tools for Chambray
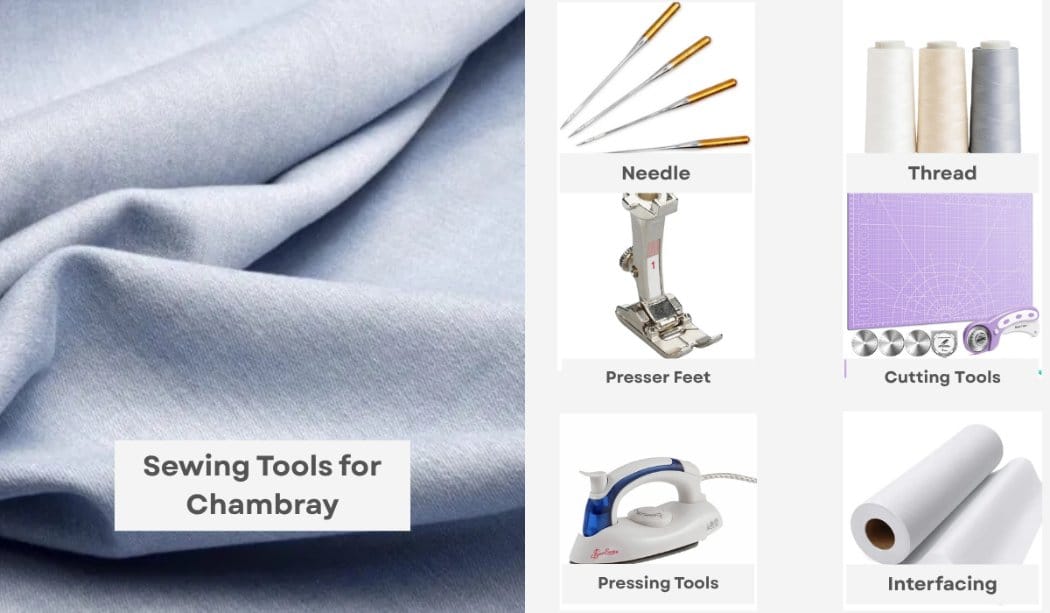
You do not need specialist equipment to sew chambray. Most standard home sewing machine setups handle it well. But using the right needle, thread, and foot will make a noticeable difference to the quality of your results.
- Universal 70/10 or 80/12
- Microtex/Sharp 70/10 for very clean seams
- Change needle every project
- A dull needle causes skipped stitches and pulls threads
- 50wt or 60wt cotton thread
- All-purpose polyester thread also works
- Match thread weight to fabric weight
- For topstitching, use a heavier 40wt cotton or topstitching thread
- Standard foot for seaming
- Walking foot helps prevent shifting on long seams
- Rolled hem foot for narrow hems
- Buttonhole foot for garment closures
- Sharp fabric scissors or rotary cutter
- Cutting mat and ruler for rotary cutting
- Pattern weights instead of pins to prevent stretching
- Chalk or marking pen for transferring notches
- Iron set to cotton/medium heat
- Press cloth to protect the fabric surface
- Seam roll for pressing open seams in sleeves and tubes
- Point presser for crisp collar and cuff corners
- Lightweight woven or non-woven fusible interfacing
- Use on collars, cuffs, and button bands to add body
- Test on a scrap: interfacing should not stiffen the fabric
- Avoid heavy interfacing, which fights against chambray’s softness
Cutting Chambray Accurately
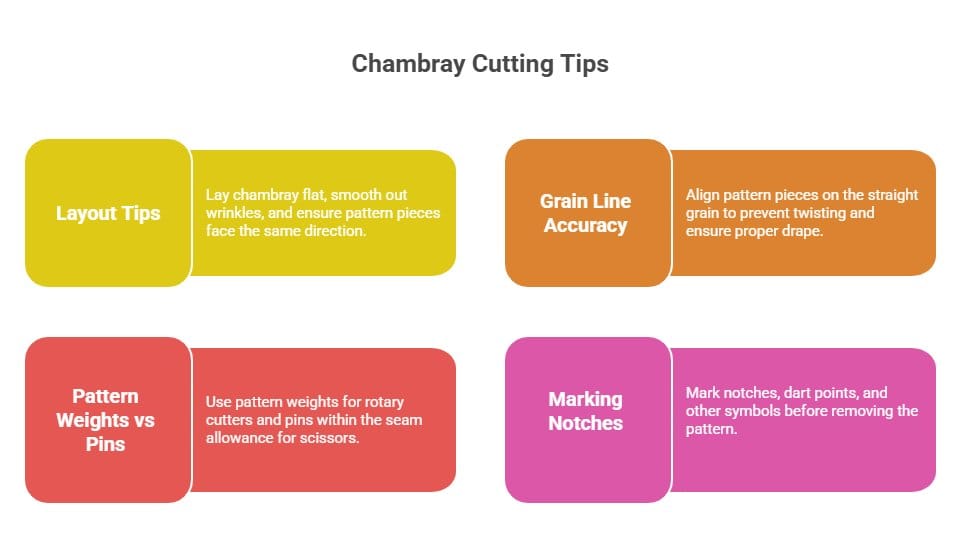
Chambray is stable enough to cut on a flat surface without too much shifting, but a little care at this stage pays dividends throughout the whole project.
Layout tips
Lay chambray on a cutting mat or large flat surface. Smooth it from the center outward to remove any wrinkles before pinning or weighting your pattern pieces. Because chambray has a woven structure with both a right and wrong side, check that all pattern pieces are facing the same direction before you cut. In most cases chambray does not have a nap, but the two-tone coloring can look slightly different depending on the light direction.
Grain line accuracy
Keep your pattern pieces aligned on the straight grain unless the pattern specifically calls for a bias cut. Chambray cut off-grain will twist, pull, and not hang properly in the finished garment. Use a ruler to measure from the grain line arrow on your pattern piece to the selvedge edge at multiple points, adjusting until the measurement is equal at both ends.
Pattern weights vs pins
Pattern weights hold fabric in place without creating small distortions the way pins can on lightweight wovens. If you are using a rotary cutter, weights are ideal. If you prefer to cut with scissors, a few pins placed within the seam allowance work well. Avoid pinning through the middle of a pattern piece where the holes will be visible on the right side.
Marking notches and symbols
Chambray takes chalk, water-soluble pen, and tailor’s tacks well. Mark all notches, dart points, button positions, and pocket placements before removing the pattern. On darker chambray, white chalk or a light marking pen shows up clearly. On lighter shades, use a contrasting color or a heat-erasable pen.
Machine Settings and Stitch Selection
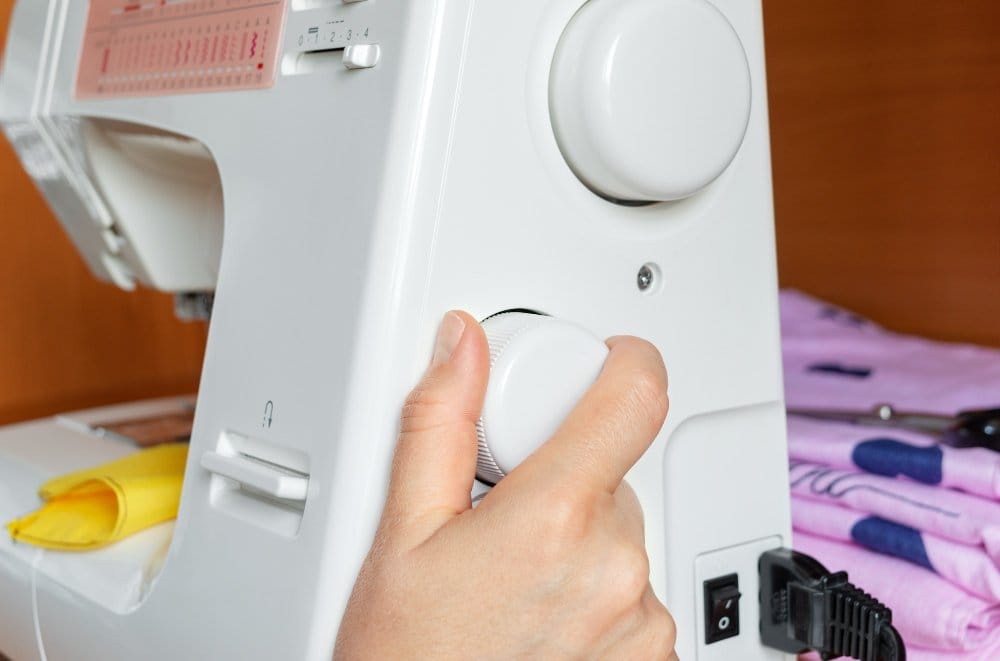
Stitch length
A stitch length of 2.0 to 2.5 mm works well for most chambray seams. Shorter stitches are useful for curved seams (necklines, armholes) where you need more control and a stronger seam. For long straight seams on shirts and blouses, 2.5 mm gives a clean result without over-stitching the fabric.
Tension
Use your machine’s standard tension setting as a starting point, then test on a scrap. Balanced tension on chambray should show identical-looking stitches on both the top and the underside of the fabric. If the top thread is visible underneath, loosen the tension slightly. If the bobbin thread pulls to the top, tighten it.
Stitch types
| Stitch Type | Setting | Best Used For |
|---|---|---|
| Straight stitch | 2.0 to 2.5 mm | Main seams, topstitching, edge stitching |
| Narrow zigzag | Width 1.5, length 2.5 | Seam allowance finishing, stretch relief on necklines |
| Basting stitch | 4.0 to 5.0 mm | Temporary seams, easing, checking fit before permanent sewing |
| Topstitch | 3.0 to 3.5 mm | Collar edges, cuff edges, front plackets, hem lines |
| Stay stitch | 2.0 mm, just inside seam allowance | Curved necklines and armholes before construction |
Stay stitching
Always stay stitch curved seams on chambray before beginning construction. A single row of straight stitching just inside the seam allowance on necklines, armhole curves, and any other curved edge prevents the fabric from stretching during handling and assembly. It takes two minutes and prevents a great deal of frustration later.
Seam Finishes for Chambray
Because chambray is a plain-weave cotton, it frays at cut edges. Finishing your seams is not optional if you want the garment to last. Here are the main seam finish options and when to use each one.
Pressing: The Step Most Sewists Skip
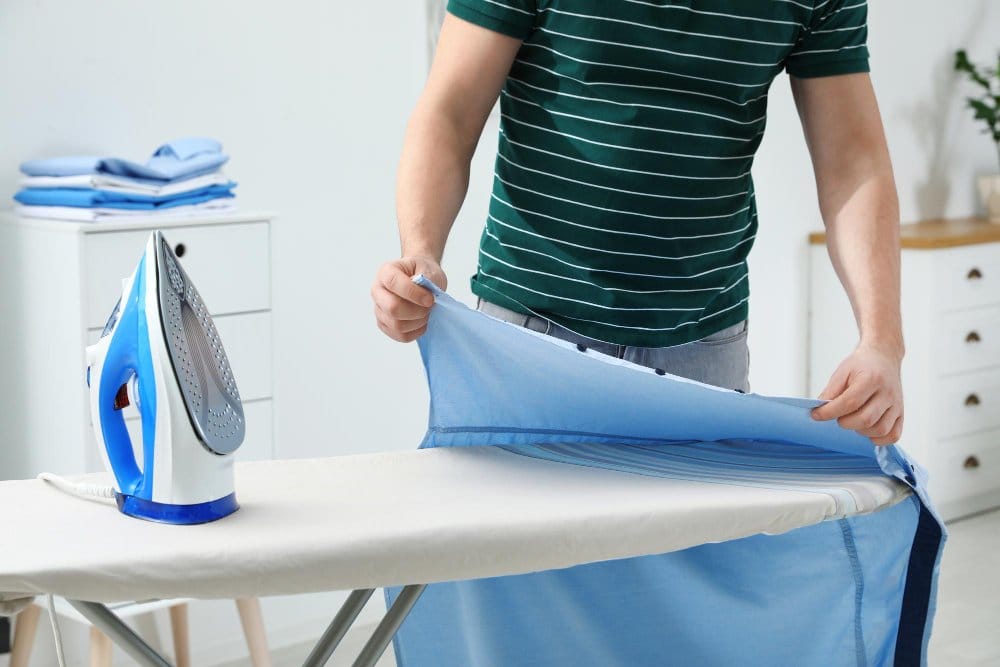
Pressing is arguably the most important technique in garment sewing, and chambray responds to it better than almost any other fabric. Experienced sewists say pressing makes the difference between a garment that looks handmade and one that looks professionally made, and with chambray it is visibly true.
Press as you go
Press every seam immediately after sewing it, before moving on to the next step. This locks the stitches, flattens the seam, and makes every subsequent step easier and more accurate. It also prevents small puckers and distortions from becoming permanent. As noted by Famore’s beginner sewing guide, pressing each seam as you complete it is one of the single most impactful habits you can build as a sewist.
Pressing settings for chambray
- Use a medium-high cotton setting on your iron
- Use steam for best results on cotton chambray
- Always use a press cloth on the right side to prevent shine marks, especially on darker chambray
- Press seams open unless the pattern specifically instructs pressing to one side
- Press on the wrong side whenever possible
Pressing collars, cuffs, and plackets
Chambray’s good iron response means these detailed areas come out crisp and clean with careful pressing. Use the tip of the iron to work into corners. A point presser (a wooden tool you press into) helps get sharp, flat corners on collar points and cuff ends. Under-press your collar edge before top stitching to lock the shape in place.
Hemming Chambray
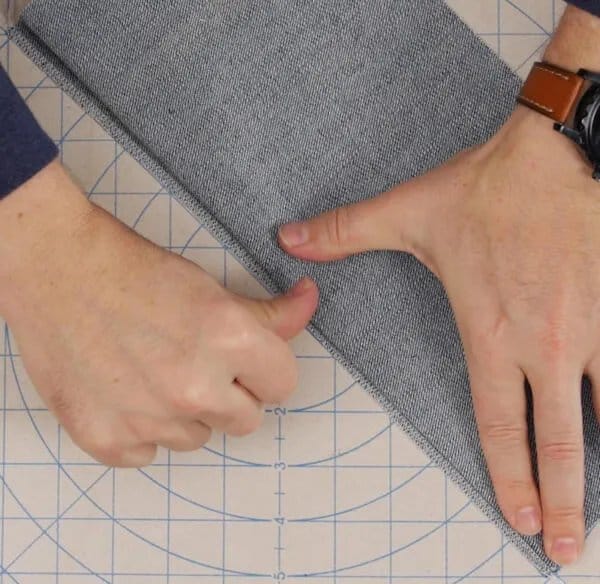
Chambray hems beautifully and gives you several clean options depending on the garment type and the look you want.
| Hem Type | Best For | Finish Width | Notes |
|---|---|---|---|
| Double-fold hem | Shirts, blouses, casual dresses | 5/8 in to 1 in | Most common garment hem. Press twice, stitch once. Clean and simple. |
| Narrow rolled hem | Lightweight chambray blouses, ruffles, scarves | 1/8 in to 1/4 in | Use a rolled hem presser foot. Best on very lightweight chambray. |
| Topstitched hem | Shirts, shirt dresses, casual wear | 1/2 in to 1 in | Visible row of topstitching adds a design detail. Use a slightly longer stitch length for the topstitch row. |
| Blind hem | Dresses, skirts, trousers | 1 in to 2 in | Nearly invisible from the right side. Use a blind hem foot and stitch. Best for more formal chambray garments. |
| Hong Kong hem | Unlined jackets and dresses | 1.5 in | Bias strip binds the raw hem edge. Visible on the inside but beautiful and very durable. |
Buttons, Buttonholes, and Closures
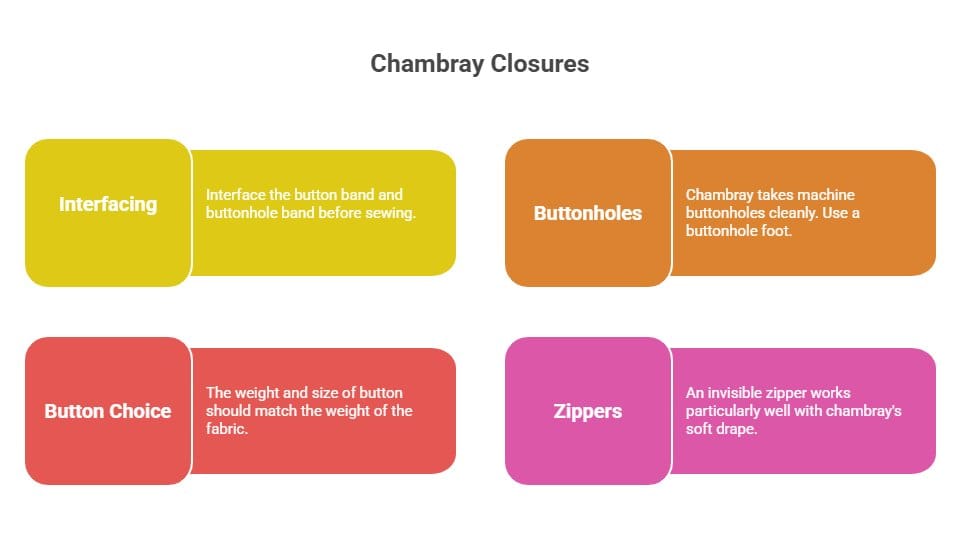
Chambray is most commonly used for shirts and blouses, which means buttons and buttonholes are a central part of working with it.
Interfacing the button band
Always interface the button band and buttonhole band before sewing them. Without interfacing, the fabric will pucker around buttonholes and the band will stretch and distort over time. Use a lightweight woven or non-woven fusible interfacing in a weight that matches the chambray, not heavier. Test the interfacing on a scrap first to make sure it does not make the band stiff or create a visible ridge on the right side.
Buttonholes
Chambray takes machine buttonholes cleanly. Use a buttonhole foot and sew a test buttonhole on a scrap of interfaced chambray first. Adjust the width and density of the satin stitch if needed. Cut the buttonhole open with a seam ripper or sharp buttonhole chisel, working from each end toward the middle. Place a pin across the end before cutting to avoid going too far.
Button choice
The weight and size of button should match the weight of the fabric. For standard chambray shirting, buttons between 7 mm and 12 mm work well. Natural buttons, shell, horn, or coconut, complement the fabric’s natural character. Avoid very large or heavy buttons that will pull the placket out of shape.
Zippers
For garments using a zipper rather than buttons (dress backs, side seams), an invisible zipper works particularly well with chambray’s soft drape. A standard lapped zipper also works. In either case, interface the zipper tape area before installing to prevent the seam allowances from stretching.
When and How to Line Chambray
Not every chambray garment needs a lining, but knowing when to add one and how to do it well is important.
When lining is necessary
- Sheer or semi-sheer chambray: lighter-weight chambray can be see-through, especially for skirts and dresses. A lining is essential in these cases.
- Structured garments: if your pattern calls for a shaped bodice or a garment that needs to hold its structure, a lining helps achieve that.
- Comfort over rougher seams: lining a jacket or dress means seam allowances are concealed and the garment feels smoother against the skin.
Best lining fabrics for chambray
Choose a lining that is lighter than or equal in weight to your chambray. Good choices include cotton lawn, batiste, a lightweight cotton voile, or a silk habutai for a more luxurious feel. Avoid polyester lining fabrics with chambray garments since they trap heat and undermine the breathability that makes chambray worth wearing in the first place.
When lining is not needed
Most shirts, blouses, and lightweight shirts do not require lining. If your chambray is opaque enough and the garment is casual in nature, clean seam finishes on the inside are all you need. Testing opacity by holding the fabric against your skin in natural light before cutting will tell you immediately whether lining will be necessary.

Best Sewing Projects for Chambray
Chambray is a versatile fabric that suits a wide range of projects. Here is a breakdown by skill level, with the key considerations for each.
- Tote bag or market bag
- Simple pillowcase or cushion cover
- Elastic-waist skirt or shorts
- Bandana or fabric scarf
- Simple top using a basic shirt pattern
- Fabric napkins or table linens
- Classic chambray button-down shirt
- Shirt dress with collar and cuffs
- Tiered midi dress
- Wide-leg or relaxed-fit pants
- Lined jacket or overshirt
- Cropped blouse with placket detail
- Tailored shirt with French seams throughout
- Full shirting with collar stand, yoke, and cuffs
- Fitted shirtwaist dress
- Chambray quilt or patchwork project
- Lined chambray trench or duster coat
Yardage quick reference
| Project | 45 in fabric | 60 in fabric | Notes |
|---|---|---|---|
| Simple top / blouse | 2 to 2.5 yds | 1.5 to 2 yds | Add extra for pattern matching |
| Button-down shirt | 2.5 to 3 yds | 2 to 2.5 yds | Include extra for collar and cuffs |
| Shirt dress | 3.5 to 4 yds | 2.5 to 3 yds | More if adding a full skirt |
| Elastic-waist skirt (knee) | 1.5 to 2 yds | 1 to 1.5 yds | Add lining yardage if needed |
| Wide-leg pants | 3 to 3.5 yds | 2 to 2.5 yds | More for taller or plus sizes |
| Tote bag | 0.75 to 1 yd | 0.75 yds | Plus lining fabric if using |
Always add 10% to your yardage estimate for pre-wash shrinkage allowance and any cutting errors.
Use our free tool to calculate exact yardage for your project:
Troubleshooting Common Chambray Sewing Problems
Do
- Pre-wash before cutting, always
- Use a fresh sharp needle for each project
- Stay stitch all curved edges before constructing
- Press every seam as you go
- Test stitch length and tension on scrap fabric first
- Finish all seam allowances to prevent fraying
- Use interfacing on button bands, collars, and cuffs
- Check fabric opacity before choosing whether to line
Do not
- Skip pre-washing (the garment will shrink after completion)
- Use a heavy needle (70/10 or 80/12 is enough)
- Skip stay stitching on necklines and armholes
- Iron on high heat without a press cloth
- Sew over pins instead of removing them before the needle reaches them
- Leave seam allowances raw without finishing
- Use heavyweight interfacing, which fights against chambray’s drape
- Pull the fabric through the machine; let the feed dogs do the work
Problem: Seams puckering
This is almost always a tension issue or a stitch length that is too short. Reduce tension slightly and increase stitch length to 2.5 mm. Also check that you are not holding the fabric taut while sewing, which forces the feed dogs to work against resistance and causes puckering.
Problem: Skipped stitches
Usually caused by a dull or wrong-size needle. Change to a fresh Universal 70/10 or Microtex/Sharp needle. Also check that the needle is fully inserted and facing the correct direction in the machine.
Problem: Fabric shifting when cutting
Use pattern weights instead of pins, or add more pins placed within the seam allowance area. Cutting on a grippy cutting mat also helps. If the fabric is very slippery after washing (some finishes wash out and alter the hand), you can cut through a single layer rather than folded fabric, flipping pattern pieces as needed.
Problem: Fraying raw edges
Finish seam allowances immediately after cutting. Do not leave cut pieces sitting unfinished for long before sewing. If edges are badly frayed before you have a chance to finish them, trim back to a clean edge and serge or zigzag before assembly.
Problem: Collar or cuff feeling too stiff
The interfacing is too heavy. Switch to a lighter weight fusible. Test on a scrap: the interfaced area should add stability without feeling cardboard-like. Trim the interfacing from the seam allowance area after fusing to reduce bulk.
Frequently Asked Questions
Yes. Chambray is one of the most beginner-friendly woven fabrics available. It is stable, does not stretch or shift excessively, takes a clean pressed seam, and behaves predictably on a standard home sewing machine. If you have worked with quilting cotton before, chambray will feel familiar. The main things to watch are pre-washing before cutting and finishing seam allowances to control fraying.
A Universal 70/10 or 80/12 needle works well for most chambray. For very clean seams on fine chambray, a Microtex or Sharp 70/10 is an excellent choice. Always use a fresh needle for each new project; a slightly dull needle on lightweight cotton is enough to cause skipped stitches and pulled threads.
Yes, always. Cotton chambray will shrink in the wash, and if you skip pre-washing, your finished garment may not fit correctly after its first launder. Wash and dry the fabric the same way you plan to care for the finished garment, then press it well before cutting your pattern pieces.
For most garments, a serged or overlocked seam finish is the fastest and most practical option. For a more refined interior finish on lightweight chambray blouses, French seams are excellent. For classic chambray shirts, flat-felled seams give the authentic workwear look and are extremely durable. If you do not have a serger, a wide zigzag stitch along the cut edge works well.
A stitch length of 2.0 to 2.5 mm works well for most chambray seams. Use the shorter end of that range for curved seams like necklines and armholes where you need more control. For topstitching, a slightly longer stitch of 3.0 to 3.5 mm looks clean and deliberate.
Not always. Most shirts and casual garments do not require lining. However, very lightweight chambray can be semi-sheer, in which case a lining is necessary for skirts and dresses. Always check opacity by holding the pre-washed fabric against your skin in natural light before deciding. If you can clearly see your hand through it, you need a lining.
Use a lightweight fusible woven or non-woven interfacing. The interfacing should add stability to areas like collars, cuffs, and button bands without making them feel stiff or heavy. Test on a scrap before committing: fuse the interfacing and then feel how the chambray behaves. If it feels boardy, switch to a lighter weight.
Serge or zigzag the cut edges of your yardage before pre-washing. After cutting your pattern pieces, serge or zigzag the seam allowance edges before or immediately after sewing each seam. Do not leave cut pieces sitting around with raw edges for long periods. Working methodically through your construction steps minimizes the time cut edges have to fray before they are enclosed in a seam.
Conclusion
If you have been putting off sewing with chambray, this guide should remove any hesitation. It is stable, forgiving, and gives excellent results across a wide range of skill levels and project types. The main rules are simple: pre-wash, use the right needle, finish your seams, and press as you go.
Get those four things right and chambray will reward you with garments that look and feel genuinely well-made. The fabric’s natural tendency to soften with washing means the finished pieces will only get better with time and wear.
Key takeaways:
- Always pre-wash before cutting. Cotton chambray shrinks, and skipping this step means a garment that will not fit after its first launder.
- Use a fresh needle. A Universal 70/10 or 80/12 handles chambray well. A dull needle causes problems that are easy to mistake for machine or tension issues.
- Finish seam allowances. Serge, zigzag, or use French seams. Chambray frays and raw edges left unfinished will cause problems over time.
- Press every seam. This single habit separates garments that look handmade from garments that look professionally made.
- Interface collars, cuffs, and button bands. Lightweight fusible interfacing in these areas gives the structure the garment needs without fighting against the fabric’s natural softness.
- Check opacity before you cut. Lightweight chambray can be sheer. Know before you sew whether your garment will need a lining.
This is the fourth article in our chambray series. Explore the others:
- The Complete Guide to Chambray Fabric
- Beginner’s Guide to Sewing
- Easy Sewing Projects for Beginners
- Guide to Seam Allowances
- How to Sew a Dress
Last reviewed: June 2026 | Category: Sewing Guides | Back to Sewing Guides