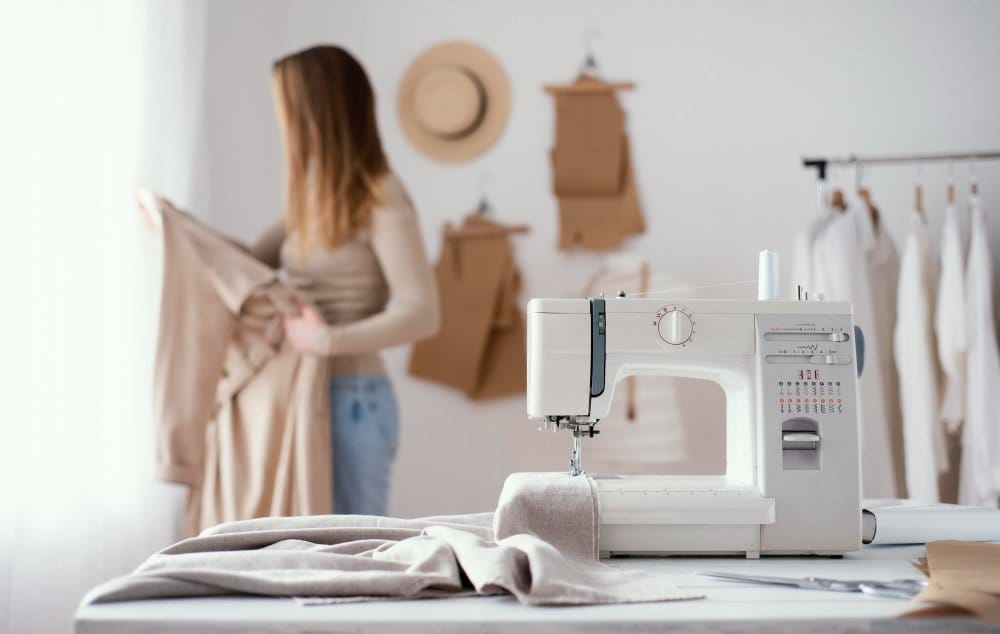
From Basic Attachments to Professional Results: Everything You Need to Know About Choosing, Using, and Mastering Presser Feet
Sewing machine presser feet can transform ordinary projects into professional-quality creations. While basic stitches handle everyday tasks, specialized presser feet unlock your machine’s full potential. Imagine gliding through knits without puckering or installing zippers with factory precision. This becomes reality with the right attachments.
The walking foot serves as a perfect example. Its dual-feed mechanism acts like an extra set of hands, guiding fabric layers evenly. Many sewists report this single upgrade transformed their experience with stretchy materials. Brands like BERNINA simplify selection with numbered systems, making it easier to match tools to tasks.
Specialized attachments turn frustrating techniques into smooth processes. They provide physical guides for perfect topstitching, stabilize delicate fabrics, and ensure consistent seam allowances. The result? Professional finishes without the guesswork.
Ready to find the perfect presser foot for your project? Use our Interactive Presser Foot Selector Tool to get personalized recommendations based on your specific sewing needs, or download our Printable Presser Feet Reference Guide to keep in your sewing room for quick reference.
Table of Contents
Quick Reference: Essential Presser Feet
| Priority Level | Foot Type | Best For | Beginner Friendly |
|---|---|---|---|
| Must-Have | Standard/Zigzag | General sewing, basic stitches | ⭐⭐⭐ |
| Must-Have | Zipper Foot | Zippers, piping | ⭐⭐⭐ |
| High Priority | Walking Foot | Quilting, stretchy fabrics | ⭐⭐ |
| Medium Priority | Buttonhole Foot | Professional buttonholes | ⭐⭐ |
| Nice-to-Have | Invisible Zipper | Hidden closures | ⭐ |
Need help choosing which feet to buy first? Our Presser Foot Selector Tool asks three simple questions about your project, fabric, and skill level to recommend the perfect foot for your needs.
Understanding Presser Feet: The Foundation
What Are Presser Feet and Why Do They Matter?
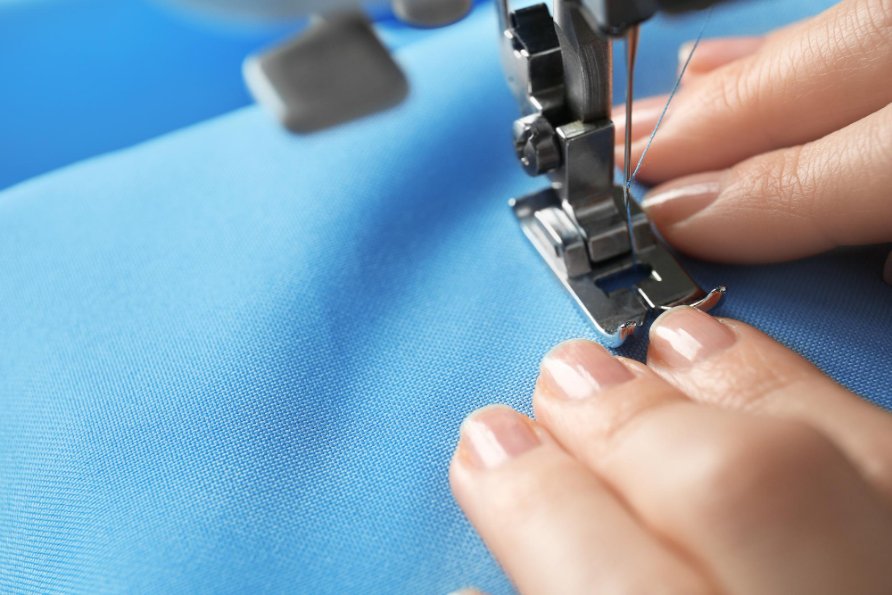
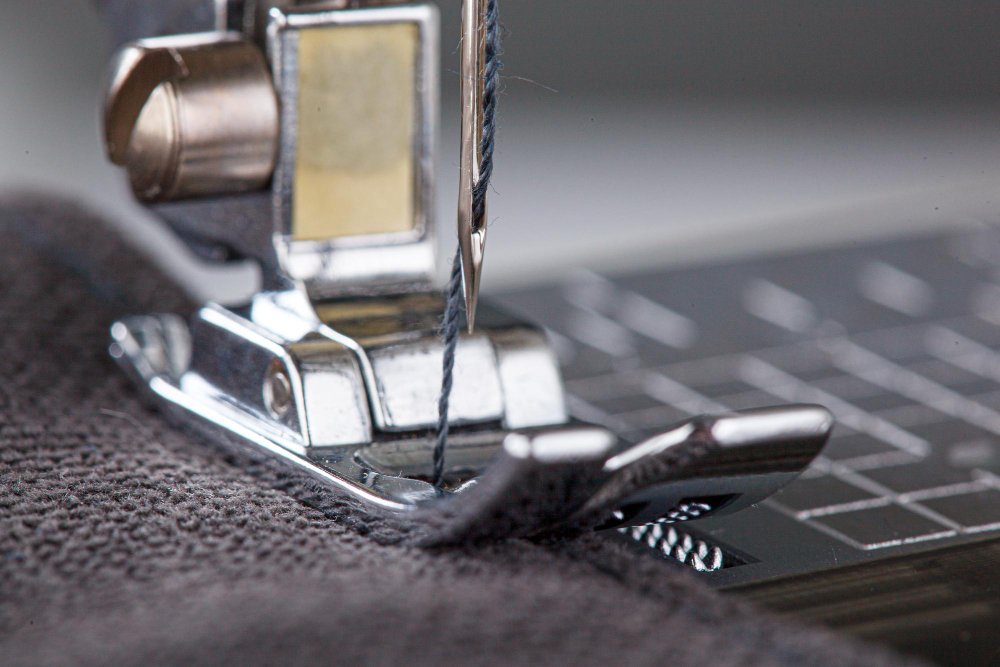
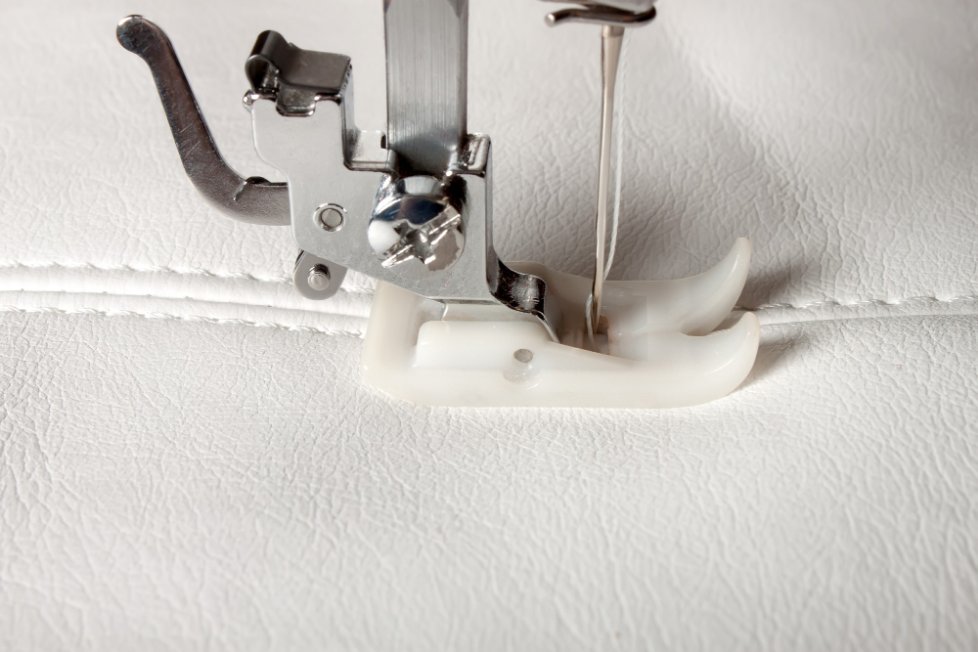
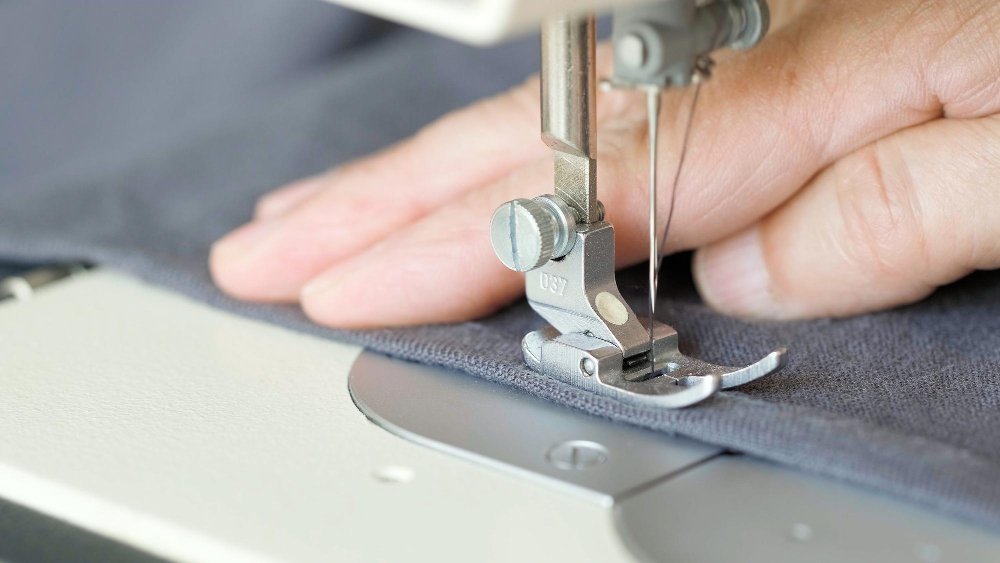
A presser foot is the metal attachment beneath the needle that holds fabric against the feed dogs during sewing. Think of it as the conductor in an orchestra, directing how fabric flows through your machine. This critical component works with the feed dogs below to create smooth, even results.
Feed dogs are the metal teeth that move up and down to grab and advance fabric. The presser foot applies downward pressure while feed dogs provide the forward motion. Together, they control fabric movement and stitch formation.
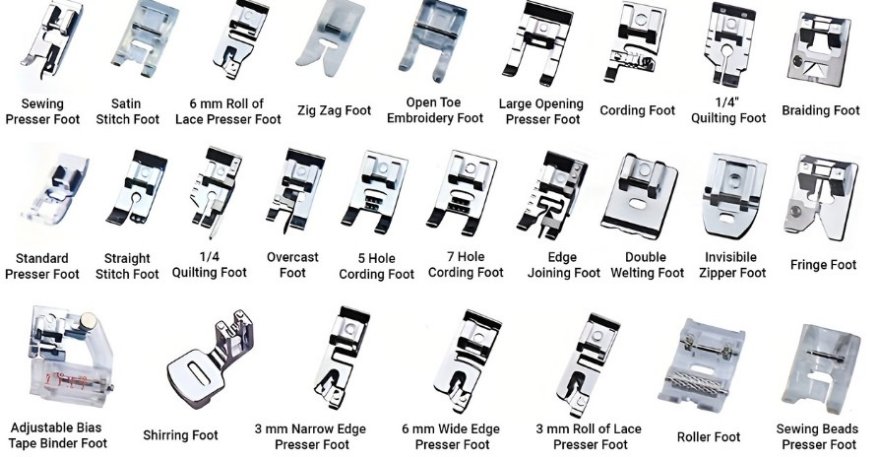
What Are the Different Types of Presser Feet?
Presser feet fall into three main categories:
Essential Feet: These handle 80% of your sewing tasks
- Standard/All-purpose foot
- Zipper foot
- Buttonhole foot
Specialty Feet: For specific techniques
- Walking foot for thick layers
- Blind hem foot for invisible hems
- Quarter-inch foot for quilting
Decorative Feet: For embellishment work
- Cording foot for decorative trim
- Ruffler foot for gathering
- Beading foot for sequins and beads

Shank Types and Compatibility Guide
How Do I Know If I Have a Low Shank Sewing Machine?
Most home sewing machines (about 90%) use low shank systems. Here’s how to check:
Low Shank Measurement:
- Distance from screw to needle plate: 3/4 inch (about 2cm)
- Common brands: Singer, Brother, Janome, most domestic machines
High Shank Measurement:
- Distance from screw to needle plate: 1.25 inches (about 3cm)
- Common brands: Some Pfaff models, industrial machines
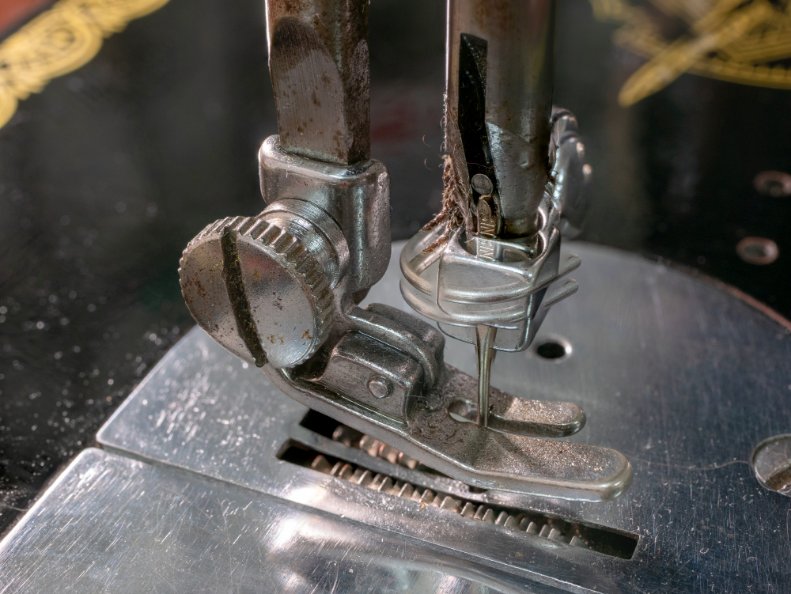
Slant Shank (Vintage):
- Angled attachment system
- Mainly 1950s-1960s Singer machines
For a complete compatibility reference you can print and keep handy, check out our Printable Presser Feet Reference Guide with detailed charts and troubleshooting tips.
Can You Put Any Foot on Any Sewing Machine?
Not exactly. Presser feet compatibility depends on:
- Shank height (low, high, or slant)
- Attachment type (snap-on vs. screw-on)
- Brand-specific features
Universal feet work across brands with the same shank type, but some specialty feet require brand-specific designs.
Are Sewing Presser Feet Universal?
Partially. Singer’s comprehensive presser feet guide explains that within the same shank category, many feet are interchangeable. For example:
- Low shank feet from Singer often fit Brother machines
- Universal snap-on feet work with most low shank machines
Exception: Janome’s technical documentation states that some feet like walking feet or those with special needle bar attachments need exact brand compatibility for optimal performance, as they require precise engineering tolerances.
Essential Presser Feet for Beginners
What Is the Most Common Presser Foot?
The standard all-purpose foot (also called zigzag foot) comes with every sewing machine. This versatile attachment handles:
- Straight stitching
- Zigzag patterns
- Basic decorative stitches
- Most everyday sewing tasks
What Foot to Use for Normal Sewing?
For general sewing projects, the standard all-purpose foot works perfectly. Its wide opening accommodates needle movement for both straight and zigzag stitches. Use this foot for:
- Seaming cotton fabrics
- Basic hemming
- Topstitching
- Light decorative work

Walking Foot: Your Best Friend for Even Fabric Feed
The walking foot revolutionizes fabric handling through its dual-feed mechanism. Unlike standard feet that rely only on bottom feed dogs, walking feet grip fabric from both above and below.
The BERNINA #50 walking foot revolutionizes material handling through its dual-feed mechanism. According to BERNINA’s official presser feet documentation, this attachment works like synchronized hands, gripping layers from above while feed dogs push from below. Unlike standard feet that rely only on bottom feed dogs, walking feet provide superior control for challenging materials.
When Should I Use a Walking Foot on My Sewing Machine?
Use a walking foot for:
- Quilting projects with batting layers
- Stretchy knits and jersey fabrics
- Slippery fabrics like satin or silk
- Thick materials that tend to shift
- Matching plaids and stripes
What Does a Walking Presser Foot Look Like?
Walking feet are larger than standard feet and feature:
- Metal “teeth” on top that mirror feed dogs
- Lever arm connecting to needle bar
- Wider base for stability
- Often labeled with brand-specific numbers (BERNINA #50, for example)
Can You Do Regular Sewing with a Walking Foot?
Yes, but with limitations. Walking feet work well for straight stitching but cannot handle:
- Wide zigzag stitches
- Decorative patterns requiring side-to-side needle movement
- Buttonholes
For mixed projects, switch between walking foot and standard foot as needed.
Zipper Foot for Professional Closures
What Does a Zipper Foot for a Sewing Machine Look Like?
Zipper feet have a distinctive narrow, asymmetrical design:
- Single toe (left or right side)
- Groove to accommodate zipper teeth
- Adjustable positioning for either side of needle
What Presser Foot to Use When Sewing Piping?
The zipper foot excels at piping installation. Its narrow profile allows stitching close to raised cord, creating professional-looking edges on:
- Pillow seams
- Upholstery projects
- Garment details
- Home décor items
Invisible Zipper Foot for Seamless Closures
This specialized foot features twin grooves that cradle invisible zipper coils. Position the left groove under zipper tape during installation. The design keeps coils flat while allowing tight stitching near teeth, creating closures that disappear into garment seams.
Specialty Feet for Specific Tasks
What Is a 1/4 Presser Foot Used For?
Quarter-inch feet are essential for quilting and patchwork. They feature:
- Built-in seam guide for perfect 1/4″ seam allowances
- Consistent spacing for piecing quilt blocks
- Precise edge alignment
Where Is 1/4 Inch on My Sewing Machine?
Most machines have 1/4″ markings on the needle plate. However, a dedicated 1/4″ foot provides more accuracy than relying on visual guides alone.
How to Use Singer 1/4 Piecing Foot?
- Snap foot onto low shank adapter
- Align fabric edge with foot’s right edge
- Stitch with needle in center position
- The foot’s edge maintains perfect 1/4″ seam allowance
How to Use Brother 1/4 Piecing Foot?
Brother’s technical specifications confirm their 1/4″ foot works by:
- Attach to snap-on mechanism
- Use foot edge as fabric guide
- Maintain consistent feeding speed
- Check seam allowances on test pieces first
Buttonhole Foot for Professional Results
Modern buttonhole feet come in two types:
Automatic Buttonhole Feet:
- Sensor measures button size
- Machine creates perfect buttonhole automatically
- Best for computerized machines
Manual Buttonhole Feet:
- Four-step process
- Manual marking and measuring required
- Works with basic mechanical machines
What Presser Foot to Use for ZigZag?
The standard all-purpose foot handles most zigzag stitching. Its wide opening accommodates needle side-to-side movement. For specialty applications:
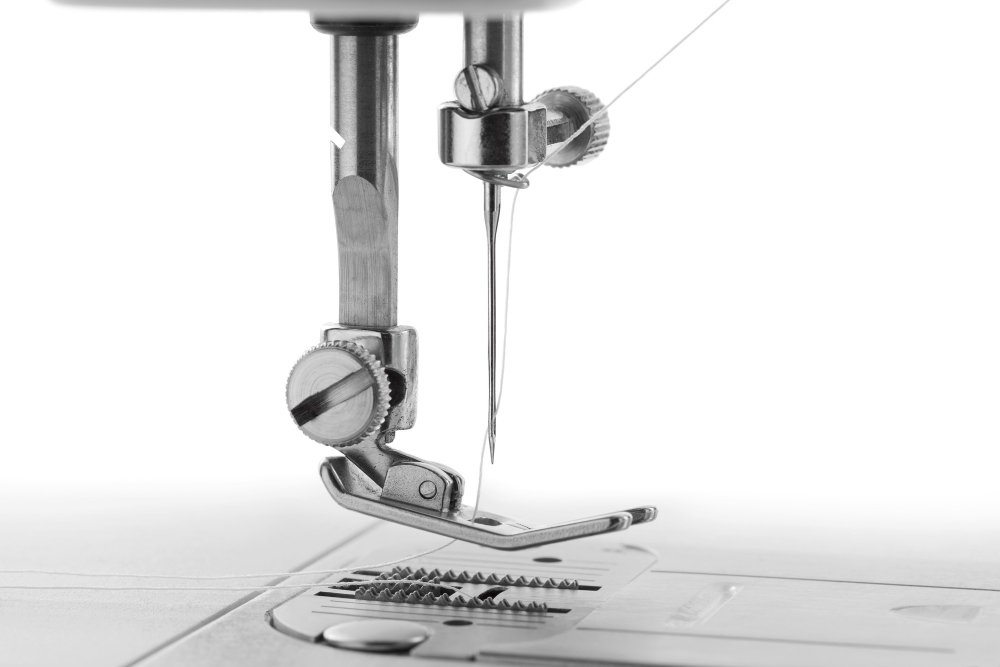
What Does a Zig Zag Presser Foot Look Like?
Standard zigzag feet feature:
- Wide rectangular opening
- Clear or metal construction for visibility
- Center groove for thread clearance
- Compatible with variable stitch widths
What Foot to Use for Zigzag Stitch?
- Standard zigzag foot: General zigzag work
- Open toe foot: Better visibility for decorative zigzag
- Satin stitch foot: Dense zigzag applications
Advanced Feet for Challenging Fabrics
What Is the Best Presser Foot for Slippery Fabric?
Slippery fabrics like silk, satin, or rayon benefit from:
- Walking Foot: Prevents layers from shifting
- Non-stick/Teflon Foot: Reduces drag on synthetic materials
- Roller Foot: Metal rollers glide over sticky surfaces
Which Presser Foot for Thick Fabric?
Heavy materials like denim, canvas, or multiple layers need:
- Walking Foot: Even feeding through thick sections
- Roller Foot: Smooth movement over bulky seams
- Compensating Foot: Maintains level stitching over thick spots
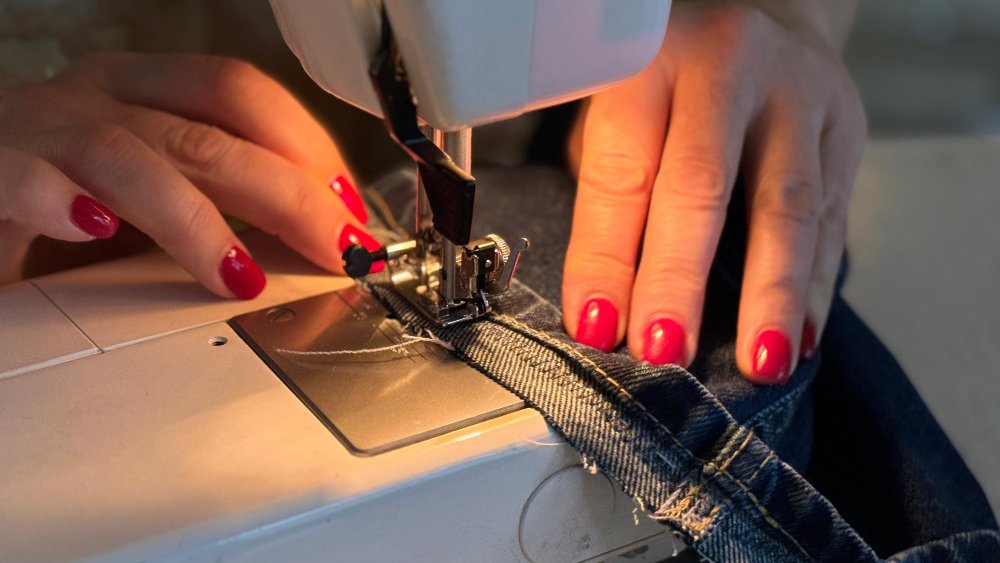
What Presser Foot to Use for Jeans?
Denim projects benefit from:
- Walking foot for straight seams
- Roller foot for smooth operation
- Standard foot with heavy-duty needle for basic stitching
Hemming and Edge Finishing Feet
Blind Hem Foot for Invisible Finishes
Blind hem feet create professional invisible hems on:
- Pants and skirts
- Curtains and drapes
- Formal wear
The foot’s guide plate ensures consistent hem depth while the needle catches only a few threads of the garment face.
Rolled Hem Foot for Clean Edges
Rolled hem feet automatically curl fabric edges for:
- Napkin and scarf edges
- Lightweight summer fabrics
- Delicate finishing work
Available in multiple sizes (1/8″, 1/4″, etc.) for different hem widths.
What Is the Best Sewing Foot for Straight Lines?
For perfectly straight stitching:
Straight Stitch Foot:
- Single needle hole prevents fabric pull-down
- Best for woven fabrics and precise work
- Cannot be used for zigzag stitches
Edge Guide Foot:
- Built-in ruler for consistent spacing
- Perfect for topstitching and parallel lines
- Adjustable spacing options
Troubleshooting Common Presser Foot Problems
Can I Use My Sewing Machine Without a Presser Foot?
Never attempt sewing without a presser foot. The foot is essential for:
- Holding fabric against feed dogs
- Controlling thread tension
- Preventing fabric from lifting
- Ensuring consistent stitch formation
Common Issues and Solutions
Problem: Fabric puckering Solution: Check presser foot pressure, use walking foot for problem fabrics
Problem: Skipped stitches
Solution: Ensure proper foot attachment, check needle condition
Problem: Uneven feeding Solution: Switch to walking foot or adjust presser foot pressure
Problem: Foot won’t attach Solution: Verify shank compatibility, check for damage
Buying Guide: Building Your Foot Collection
What Are the Most Useful Sewing Machine Feet?
Priority order for beginners:
Level 1 (Essential):
- Standard/All-purpose foot (included)
- Zipper foot
- Buttonhole foot
Level 2 (High Priority): 4. Walking foot 5. 1/4″ foot (for quilters) 6. Blind hem foot
Level 3 (Specialty): 7. Invisible zipper foot 8. Rolled hem foot 9. Cording foot
Smart Shopping Strategies
Multi-Pack Options: Often more economical than individual purchases Brand Compatibility: Stick with your machine’s brand for specialty feet Universal vs. Specific: Universal feet work for basic tasks, specific feet offer precision
Budget-Friendly Tips:
- Start with essential feet only
- Add specialty feet as skills develop
- Look for bundle deals from reputable dealers
- Consider generic options for basic feet
Still unsure which feet to prioritize? Take our quick Presser Foot Assessment to get a personalized shopping list based on your sewing goals and experience level.
Storage and Organization
Proper storage preserves foot quality and saves time:
Clear Storage Boxes: Keep feet visible and dust-free Magnetic Strips: Secure metal feet to prevent damage Labeled Compartments: Quick identification during projects Instruction Cards: Keep foot guides accessible
When to Use Different Presser Feet
Project-Based Foot Selection
Quilting Projects:
- Walking foot for sandwich layers
- 1/4″ foot for piecing
- Free motion foot for quilting
Garment Sewing:
- Standard foot for construction
- Zipper foot for closures
- Blind hem foot for finishing
- Buttonhole foot for fastenings
Home Décor:
- Walking foot for thick fabrics
- Zipper foot for piping
- Cording foot for decorative trim
Repairs and Alterations:
- Standard foot for most tasks
- Blind hem foot for length adjustments
- Zipper foot for replacement zippers
Quick Reference Tip: Keep our Printable Reference Guide near your sewing machine for instant foot selection guidance during projects.
Maintenance and Care
Cleaning Your Presser Feet
Regular maintenance ensures optimal performance:
- Remove lint after each project
- Wipe with soft cloth to remove oil residue
- Check for damage like bent toes or worn surfaces
- Store properly to prevent rust and damage
When to Replace Feet
Replace presser feet when:
- Toes are bent or damaged
- Surface coating wears off
- Attachment mechanism loosens
- Fabric snags consistently
For proper sewing machine maintenance, include foot inspection in regular service routines.
Specialty Foot Applications
What Is an N Presser Foot Used For?
The N foot (specific to certain brands) typically refers to:
- Non-stick applications
- Specialty decorative work
- Brand-specific functions
Check your machine manual for exact N foot specifications.
What Is the R Presser Foot Used For?
R feet generally indicate:
- Right-sided applications
- Specific stitch patterns
- Brand numbering systems
What Is Presser Foot F For?
F feet commonly serve:
- Free motion quilting
- Embroidery applications
- Open toe work requiring visibility
What Is a One Side Presser Foot Used For?
Single-sided feet excel at:
- Edge stitching close to raised areas
- Sewing along thick seams
- Applying trim and binding
- Working around buttons or snaps
Advanced Techniques and Applications
Decorative Applications
Cording Foot: Attach decorative cord, yarn, or thin rope for surface embellishment. Perfect for:
- Pillow edges
- Garment details
- Embroidered lace fabric applications
- Home décor accents
Pintuck Foot: Creates raised parallel ridges in fabric using twin needles. Ideal for:
- Heirloom sewing
- Blouse details
- Decorative panels
- Vintage-style garments
Gathering Foot: Automatically ruffles fabric while stitching. Great for:
- Ruffled skirts
- Curtain headers
- Children’s clothing details
- Decorative trim
Working with Challenging Materials
Lace Fabric Applications:
- Use walking foot to prevent stretching
- Consider clear foot for visibility
- Test stitch settings on scraps first
Leather Care Considerations:
- Teflon foot prevents sticking
- Roller foot smooths movement
- Walking foot handles thick sections
Professional Tips and Techniques

Mastering Foot Changes
Quick Change Tips:
- Always raise needle before changing feet
- Lift presser foot lever completely
- Ensure secure attachment before stitching
- Test on scraps after foot changes
Pressure Adjustments
Different feet may require pressure modifications:
- Light pressure: Delicate fabrics, walking foot applications
- Medium pressure: Standard sewing tasks
- Heavy pressure: Thick materials, multiple layers
Needle Position Coordination
Some feet work best with specific needle positions:
- Center position: Most standard applications
- Left position: Edge stitching, certain decorative work
- Right position: Specific edge applications
Do All Sewing Machines Use the Same Foot Pedal?
Foot pedals vary by manufacturer and model. Key differences include:
Connection Types:
- Plug-in cords (most common)
- Wireless systems (newer models)
- Proprietary connections
Control Features:
- Variable speed control
- Start/stop capability
- Reverse function integration
Pedals are generally not interchangeable between brands due to different electrical requirements and connection systems.
What Do Feed Dogs Do on a Sewing Machine?
Feed dogs are the metal teeth beneath the presser foot that:
Primary Functions:
- Grip fabric from below
- Move fabric forward during stitching
- Work with presser foot pressure
- Control stitch length through movement speed
Movement Pattern:
- Rise to grip fabric
- Move forward to advance material
- Lower to release fabric
- Return to starting position
Understanding feed dog function helps explain why presser feet are essential for proper fabric control.
Can You Use a High Shank Foot on a Low Shank Sewing Machine?
High shank feet cannot directly attach to low shank machines due to height differences. However:
Adapter Solutions:
- Low-to-high shank adapters available
- Allows use of high shank feet on low shank machines
- Some performance limitations may apply
Compatibility Notes:
- Not all high shank feet work with adapters
- Walking feet typically need exact shank matching
- Check manufacturer recommendations before purchasing adapters
What Is the Difference Between High Shank and Low Shank?
The key differences affect foot compatibility and performance:
Physical Differences:
- Mounting height: Distance from attachment point to needle plate
- Leverage: High shank provides more presser foot pressure
- Stability: High shank offers better control for heavy materials
Practical Implications:
- Foot selection: Must match shank type for proper fit
- Performance: High shank better for industrial applications
- Cost: High shank feet often more expensive
Conclusion
Presser feet transform sewing from basic stitching to professional craftsmanship. The right foot eliminates common frustrations while opening new creative possibilities. Start with essential feet like the standard all-purpose, zipper, and walking foot, then expand based on your specific interests and projects.
Key Takeaways:
- Compatibility First: Always verify shank type before purchasing new feet
- Quality Over Quantity: Invest in well-made essential feet rather than collecting every available option
- Practice Makes Perfect: Test new feet on scraps before starting important projects
- Proper Storage: Organized storage saves time and preserves foot condition
- Regular Maintenance: Clean feet after use and inspect for damage regularly
- Use Available Resources: Take advantage of our Presser Foot Selector Tool for personalized recommendations and keep our Printable Reference Guide in your sewing space for quick guidance.
Investment Priorities:
- Essential feet handle 80% of sewing tasks
- Walking foot dramatically improves results with challenging fabrics
- Specialty feet enable specific techniques but aren’t always necessary
- Quality storage systems protect your investment
Professional Results: The difference between amateur and professional-looking projects often comes down to using the right presser foot. A well-chosen foot provides physical guides that replace guesswork, ensuring consistent results every time.
Whether you’re just starting with basic sewing techniques or advancing to complex projects, presser feet are the tools that make excellence achievable. Focus on mastering your essential feet first, then gradually expand your collection as your skills and ambitions grow.
Remember that even the most expensive presser foot collection won’t improve your sewing if stored improperly or left unused. The best feet are the ones you understand, maintain well, and use confidently to create beautiful, professional-quality projects.