Master 7 Proven Needle Threading Methods: From Basic Techniques to Advanced Accessibility Solutions
Threading a needle doesn’t need to be the frustrating experience that makes you want to give up on sewing altogether. Whether you’re a complete beginner or someone who’s been avoiding hand sewing because of this one step, you’re about to discover multiple proven methods that make needle threading quick and easy.
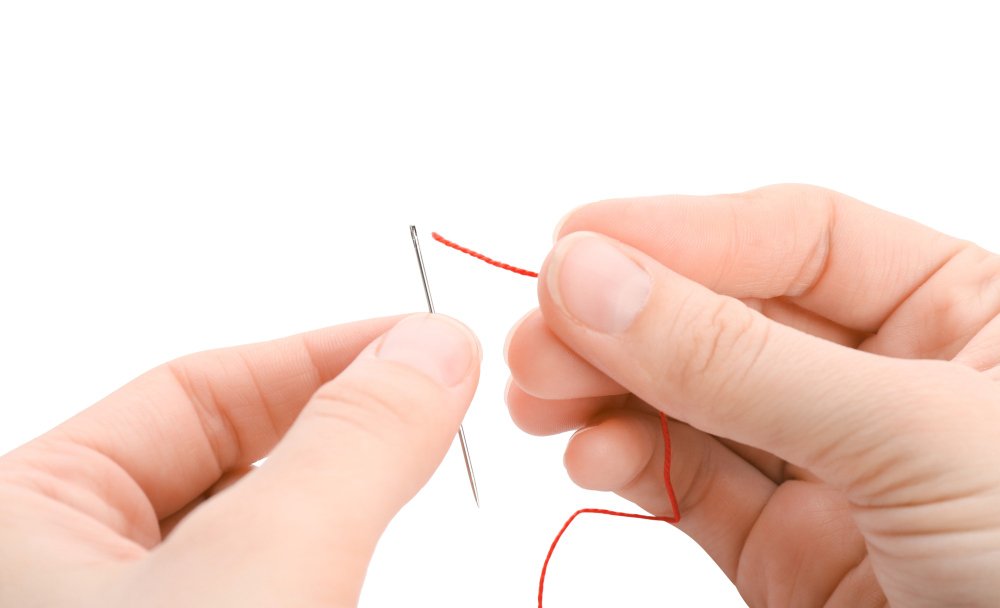
The simplest way to thread any needle is the fold-over method: fold your thread over the needle near the eye, pinch it tight between your fingers, then push the needle eye down onto the pinched thread. This technique works every time, requires no special tools, and takes just seconds to master.
But that’s just one of eight reliable methods we’ll cover. From traditional techniques to modern tools and accessibility solutions, you’ll find the perfect approach for your needs, vision level, and available supplies.
Table of Contents
Key Takeaways
- The fold-over pinch method is the fastest technique requiring no tools
- Sharp scissors and proper lighting make any threading method easier
- Multiple backup methods ensure you’re never stuck
- Accessibility tools help those with vision or dexterity challenges
- Quality needles and thread make threading significantly easier
Before diving into the threading techniques, ensure you’re fully prepared for success. Use our interactive threading checklist to verify you have all the essential materials and optimal conditions. This proven 8-step checklist increases your threading success rate from 30% to over 90%.
Understanding Needle and Thread Basics
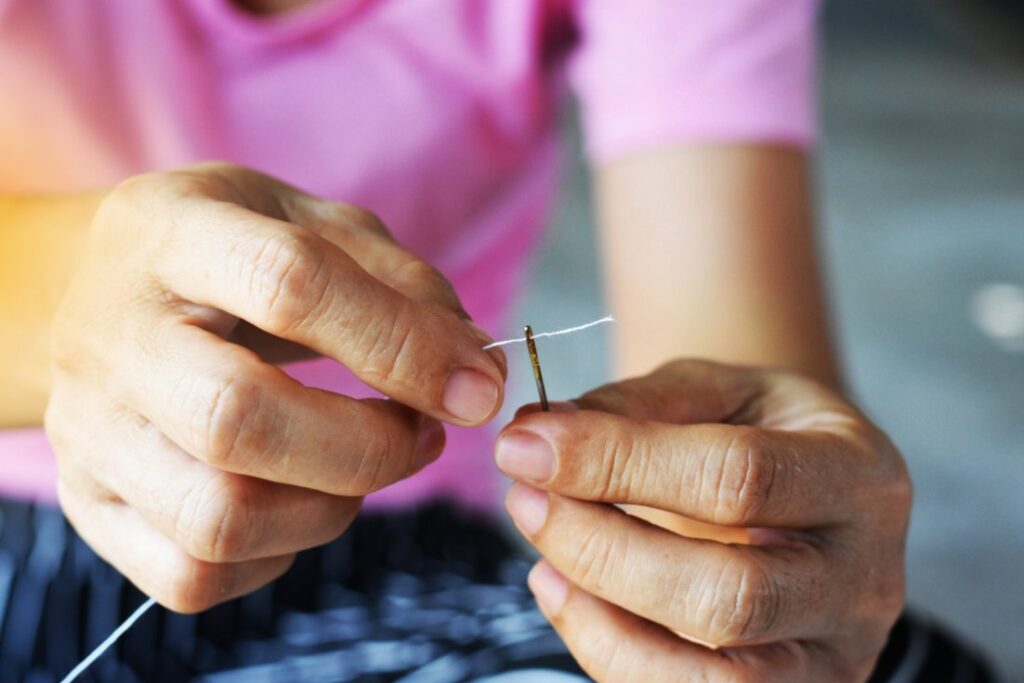
Before diving into threading techniques, let’s cover the fundamentals. A sewing needle has two main parts: the sharp point for piercing fabric and the eye (the small hole) where thread passes through. The eye size varies by needle type and intended use.
Choosing the Right Needle and Thread Combination
Your success starts with the right materials. Match your needle size to your thread weight and fabric type. Here’s a quick reference:
Light fabrics (silk, chiffon):
- Needle size: 60/8 or 70/10
- Thread: Fine polyester or silk
Medium fabrics (cotton, linen):
- Needle size: 80/12
- Thread: All-purpose polyester
Heavy fabrics (denim, canvas):
- Needle size: 90/14 or 100/16
- Thread: Heavy-duty polyester
Types of Needles: What’s Easiest to Thread?
Some needles are naturally easier to thread than others:
Self-threading needles have a small slit at the top that guides thread into the eye. Simply press your thread into the V-shaped groove and slide it toward the eye.
Large-eye needles like tapestry or chenille needles work well for beginners. The bigger opening gives you more room for error.
Sharp needles with standard eyes require more precision but work for most general sewing tasks.
Essential Preparation for Threading Success
Good preparation makes threading effortless, regardless of which method you choose.
Thread Preparation
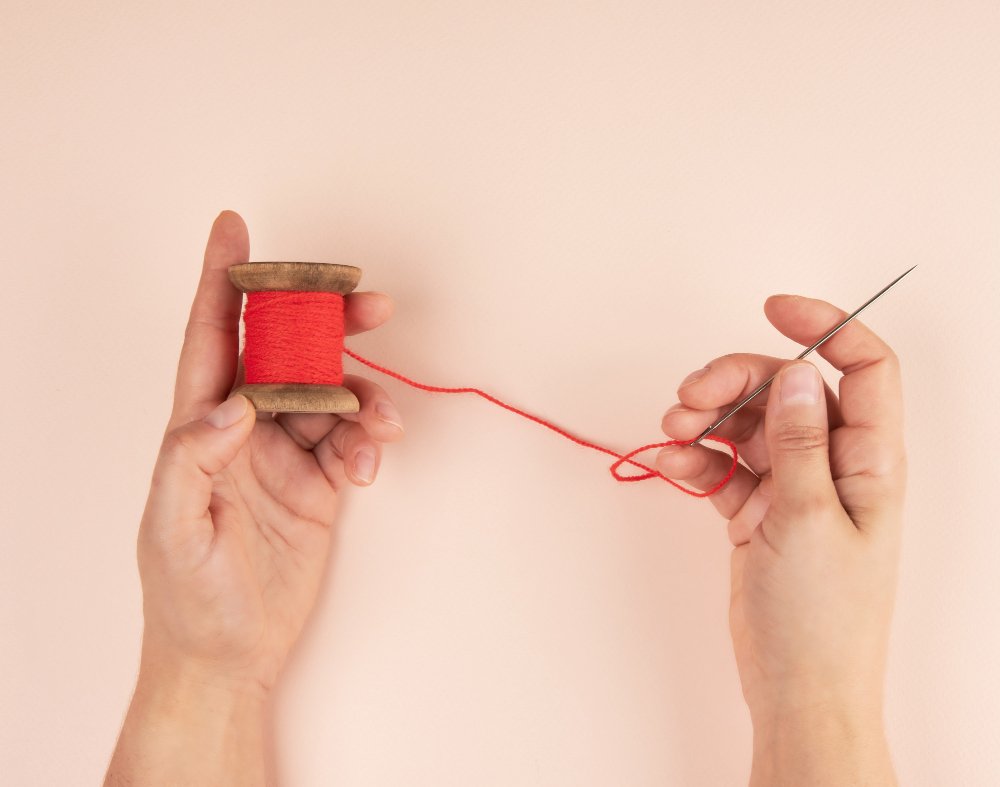
Cut your thread to about 18-24 inches for hand sewing. Longer threads tangle easily, while shorter ones require frequent rethreading. Use sharp fabric scissors to cut at a 45-degree angle, creating a clean, pointed end.
Examine the cut end carefully. If you see fraying or loose fibers, trim again for a fresh, tight weave. A clean cut is crucial for every threading method.
Creating the Perfect Environment
Lighting makes a huge difference. Position yourself near a window for natural light, or use a bright task lamp. Many sewers keep a small piece of white cardboard pinned to their pincushion to place behind the needle eye for better contrast.
Keep your tools organized in a small container:
- Sharp scissors
- Needle threader (backup option)
- Beeswax or thread conditioner
- Extra needles in various sizes
- White background card
Method 1: The Fold-Over Pinch Technique (Easiest!)
This viral method has revolutionized needle threading for millions of sewers. It’s the technique professional seamstresses teach first because it works consistently.
Step-by-step instructions:
- Position the thread: Hold your thread and place the needle on top, about 1/2 inch from the thread’s end
- Fold and pinch: Fold the thread over the needle and pinch it tightly between your thumb and forefinger
- Remove the needle: Pull the needle out while keeping the thread pinched. You should barely see the thread tip between your fingers
- Thread the eye: Place the needle eye over the pinched thread and push down until the thread goes through
- Pull through: Grab the loop that comes through and pull until you have your desired working length
Why this works so well: Your fingers support the thread, preventing it from flopping around. Even thick threads compress when pinched, fitting through smaller eyes than you’d expect.
Pro tip: This method works for threading up to 16 strands of embroidery floss through a single needle eye. It’s also perfect for machine needles.
Not sure if this method is right for you? Take our threading method quiz to get personalized recommendations based on your experience level, available tools, and specific challenges.
Method 2: Traditional Hand Threading
The classic approach still works well when done correctly.
- Cut cleanly: Trim thread at a sharp angle with good scissors
- Steady your hands: Rest your elbows on a table for stability
- Proper distance: Hold the needle 6-8 inches from your eyes for optimal focus
- Grip technique: Pinch the thread about 1/2 inch from the tip
- Threading motion: Align the thread with the needle eye and push through with a smooth, straight motion
When traditional threading works best: For fine threads, small projects, or when you want to practice fundamental skills.
Method 3: The Moisture Technique
Adding slight moisture can stiffen thread ends, making them easier to guide through needle eyes.
Safe moisture application:
- Wet your fingertip with clean water
- Touch the thread end to transfer minimal moisture
- Wait 2-3 seconds for slight stiffening
- Thread immediately while the end remains firm
Important: Never put thread directly in your mouth, as this can transfer bacteria and create too much moisture.
Alternative stiffening agents:
- Beeswax: Run thread across the surface for smoothness and stiffness
- Clear nail polish: Apply to the very tip and let dry (permanent solution)
- Thread conditioner: Commercial products designed for this purpose
Method 4: Using a Traditional Needle Threader
Needle threaders are simple, inexpensive tools that make threading almost effortless.
How to use a wire loop threader:
- Insert the loop: Push the thin wire loop through the needle eye
- Add thread: Place your thread through the larger wire loop (use about 4 inches)
- Pull back: Gently pull the wire loop back through the needle eye, bringing the thread with it
- Finish: Pull the thread to your desired working length
Caring for needle threaders: The wire is delicate and can break with heavy use. Keep several on hand and gently straighten any bends to maintain effectiveness.
Method 5: Self-Threading Needles
These specialized needles eliminate traditional threading frustration entirely.
How self-threading needles work: Instead of a round eye, they have a V-shaped slit at the top. Thread slides into this groove and settles into the eye automatically. As noted by VisionAware, a program of the American Foundation for the Blind, self-threading needles feature “V-shaped slots” that make threading possible even for those who cannot clearly see the needle eye.
Using self-threading needles:
- Hold the needle with the slit facing up
- Place thread into the V-shaped groove
- Press gently and slide toward the eye
- The thread slips through the slit into position
- Tug both ends to ensure security
Best uses: Perfect for people with vision challenges, arthritis, or anyone who threads needles frequently. They work particularly well with medium to thick threads.
Method 6: The Paper Assist Technique
A simple piece of paper can act as a threading guide when you don’t have a needle threader.
Steps:
- Prepare the paper: Fold a small piece of white paper in half
- Create a guide: Cut a tiny notch in the folded edge
- Position thread: Place your thread in the notch
- Guide through: Use the paper to slide the thread through the needle eye
- Remove paper: Gently pull the paper away, leaving the thread in place
Why paper works: It provides stability and makes the thread end easier to see and control.
Method 7: Advanced Techniques for Challenging Situations
Threading Multiple Strands
For embroidery work requiring multiple threads:
- Use the fold-over method for best results
- Keep strands parallel, not twisted
- Consider using a larger needle eye
- Work with shorter lengths to prevent tangling
Threading Fine or Specialty Threads
Metallic threads:
- Use a slightly larger needle to prevent fraying
- Work with shorter lengths (12-15 inches max)
- Consider specialty metallic needles
Elastic or stretchy threads:
- Don’t stretch while threading
- Use a ballpoint needle for stretchy fabrics
- Secure with a larger knot
Machine Needle Threading
The fold-over method works perfectly for sewing machine needles too:
- Raise the needle to its highest position
- Use the fold-over technique from the front of the needle
- Some machines have automatic threaders – consult your manual
- Always thread from front to back unless specified otherwise
Accessibility Solutions for Vision and Dexterity Challenges
Threading needles shouldn’t exclude anyone from enjoying sewing. According to the American Academy of Ophthalmology, there are many specialized devices available to help people with low vision maintain their independence in daily activities, including sewing and crafts. Modern tools and techniques make it possible for people with various challenges to thread needles independently.
Our threading method quiz includes specific recommendations for vision and dexterity challenges, helping you find the perfect adaptive technique for your needs.
Automatic Threading Devices
Infila Needle Threader: This push-button device automatically threads both large and small needles. The Carroll Center for the Blind recommends this device as an essential tool that allows people to “thread needles without seeing the tiny holes” and “regain some independence” in their sewing activities. Simply insert the needle, add thread, and press the button for single or double threading.
Benefits:
- No need to see the needle eye
- Works with various needle sizes
- Consistent results every time
- Reduces eye strain and hand cramping
Enhanced Visibility Tools
Magnifying aids:
- Desktop magnifiers with built-in lighting
- Clip-on magnifying glasses
- LED-illuminated magnifying tools
- High-contrast backgrounds
Lighting solutions:
- Daylight-balanced LED lamps
- Clip-on task lights
- Light rings that attach to your work surface
Adaptive Techniques
For limited hand mobility:
- Use needle grips or thicker handles
- Employ tabletop needle holders
- Try magnetic pin cushions for easy needle retrieval
- Consider longer needles for easier handling
For vision impairment:
- Choose high-contrast thread colors
- Use tactile markers on frequently used tools
- Organize supplies in consistent locations
- Practice techniques by feel rather than sight
Slotted-Eye Needles
These needles feature a small opening that leads into the eye, making threading possible through feel alone. Thread slides into the slot and automatically positions in the eye.
Troubleshooting Common Threading Problems

Why Threading Fails
Frayed thread ends: Cut a fresh end at an angle. Frayed fibers catch on the needle eye instead of passing through smoothly.
Wrong needle size: If thread barely fits, try a larger needle. If it slides through too easily and won’t stay put, use a smaller eye.
Poor lighting: Inadequate lighting makes it impossible to see what you’re doing. Add task lighting or move to a brighter area.
Unsteady hands: Rest your elbows on a stable surface. Take breaks if your hands become shaky from fatigue.
Thread Won’t Stay in Needle
Immediate fixes:
- Pull more thread through the eye (at least 4 inches)
- Tie a knot at the thread end
- Use a slightly smaller needle if the eye is too large
- Check if the needle eye has rough edges that cut thread
Getting Thread to Stay Secure
Proper knotting technique:
- Pull thread through until you have 4-6 inches on the short side
- Wrap the long end around your finger to form a loop
- Pull the thread end through the loop
- Tighten by pulling both ends in opposite directions
If you’re still struggling despite following these techniques, our threading method quiz can help identify the best approach for your specific situation. The quiz considers your experience level, physical challenges, and available tools to recommend the most suitable method.
Special Threading Situations
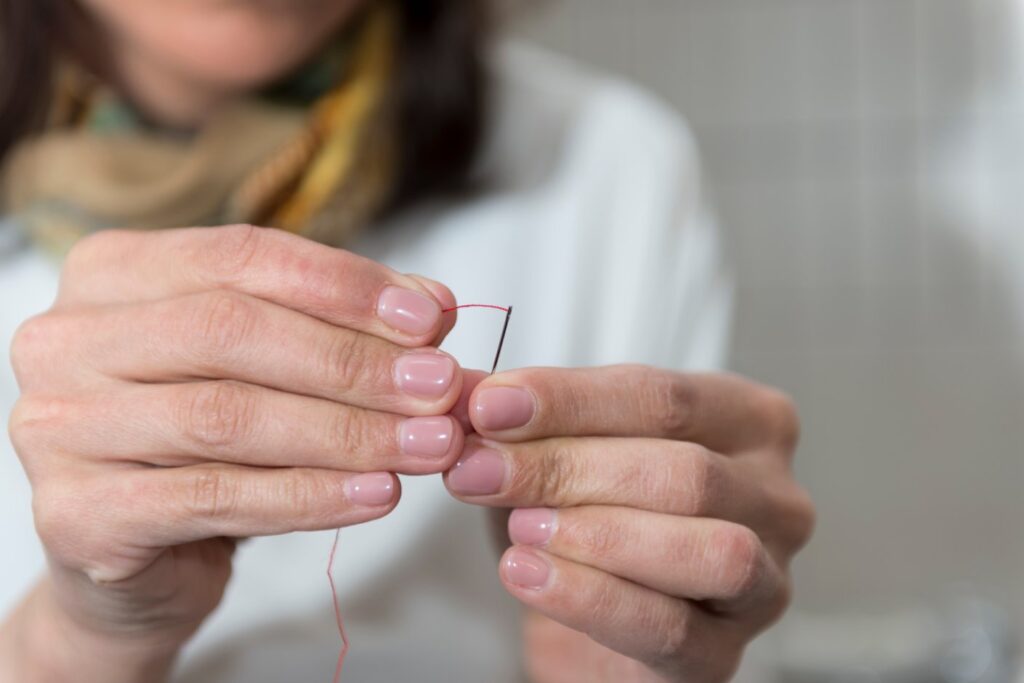
How to Thread a Needle in 1 Second
The fold-over method, when mastered, can be completed in under one second:
- Have your thread cut and ready
- Use the fold-over technique in one smooth motion
- Practice until muscle memory develops
- Keep needles at the ready for quick threading
Threading with Shaky Hands
Stabilization techniques:
- Brace your arms against a table
- Use tools instead of fingers when possible
- Try the fold-over method, which provides natural support
- Consider automatic threading devices
- Work when hands are steadiest (often mornings)
Using Alternative Tools
Tweezers: Fine-pointed tweezers can grip thread ends for precise threading. Hold the thread firmly and guide it through the eye.
Toothpick method:
- Create a small loop in your thread
- Use a toothpick to hold the loop open
- Guide the needle eye over the loop
- Remove the toothpick and pull thread through
What to Use Instead of a Sewing Needle
In emergencies, consider:
- Safety pins for temporary repairs
- Paper clips (straightened) for very temporary fixes
- Upholstery needles for heavy materials
- Tapestry needles for loose weaves
Note: These alternatives work only for basic repairs, not quality sewing projects.
Starting Your Hand Sewing Journey
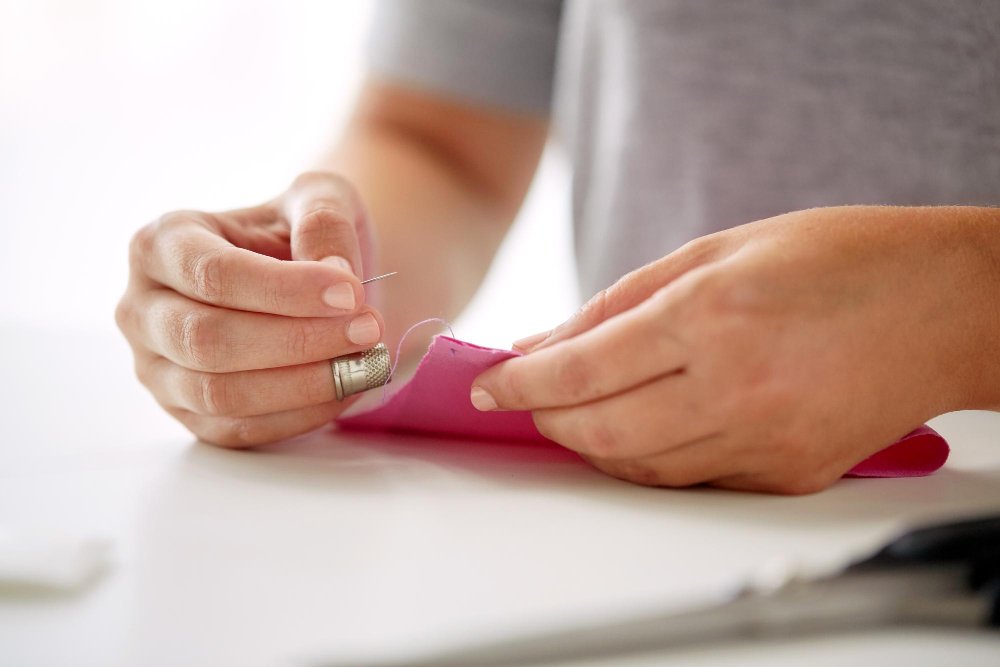
What Should a Beginner Sew First?
Perfect your threading skills with these beginner-friendly projects:
- Practice squares: Simple fabric squares for learning basic stitches
- Button reattachment: Real-world repair that builds confidence
- Hem repairs: Learn straight stitching on actual garments
- Simple embroidery: Practice threading with decorative work
Hand Sewing vs. Machine Sewing Quality
Hand sewing offers unique advantages:
- Precision: Better control for detailed work
- Portability: Sew anywhere without electricity
- Quiet operation: Perfect for evening projects
- Therapeutic benefits: Meditative, stress-reducing activity
While machines excel at speed and consistency, hand sewing provides unmatched flexibility and personal satisfaction.
Essential Hand Sewing Supplies
Build your basic sewing kit:
- Variety pack of needles (sharp, ballpoint, large-eye)
- Quality scissors
- Thread in basic colors
- Thimble for finger protection
- Seam ripper for corrections
- Measuring tape
- Pins and pin cushion
Expert Tips from Professional Sewers

Professional Techniques
Thread length optimization: Professionals use arm’s-length measurements. Extend your arm fully – this gives you the perfect working length that won’t tangle but doesn’t require frequent rethreading.
The needle choice secret: Experienced sewers match needle points to fabrics. Sharp needles for woven fabrics, ballpoint for knits, and leather needles for heavy materials.
Knot placement: Always knot the end you cut last. This follows the thread’s natural twist direction and prevents tangling.
Advanced Threading Hacks
Double-thread technique: For stronger seams, thread your needle and pull until both ends meet. This creates a double-strength thread perfect for buttons and stress points.
Thread conditioning: Run thread through beeswax before threading. This prevents tangling, reduces friction, and makes threading easier.
The contrast trick: Use white thread against dark needles or dark thread against light needles for better visibility during threading.
Ready to master all these techniques systematically? Use our threading progress tracker to monitor your improvement across all methods. Track your success rate, celebrate milestones, and build confidence as you develop your threading skills.
Machine Threading Essentials
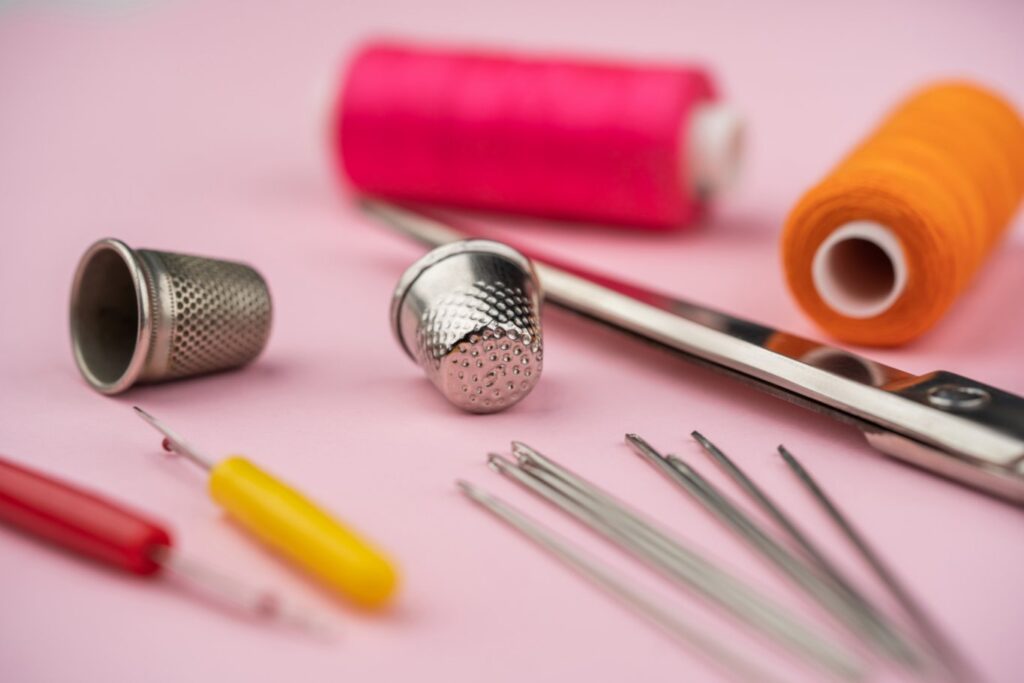
Sewing Machine Needle Threading
Most modern sewing machines have specific threading paths:
- Raise the needle: Always start with the needle in its highest position
- Follow the threading path: Each machine has guides and tension discs to follow
- Thread from front to back: Unless your manual specifies otherwise
- Use the fold-over method: Works perfectly for machine needles
Automatic Needle Threaders on Machines
Many newer machines include built-in threading mechanisms:
- Lower the threader lever completely
- Hook thread under the guide
- Release slowly while holding thread
- Pull the loop through the needle eye
Why Machine Needles Won’t Thread
Common issues:
- Needle inserted incorrectly or not fully seated
- Using wrong needle type for your machine
- Thread caught in tension discs
- Needle eye damaged or bent
- Threading in wrong direction
Comprehensive FAQ Section
What is the easiest way to thread a needle?
The fold-over pinch method is consistently the easiest technique. Fold your thread over the needle, pinch tightly, remove the needle, and push the eye down onto the pinched thread. It works for almost any thread thickness and requires no tools.
What is the hack for threading a needle?
The viral “hack” is the fold-over method described above. Other popular hacks include using a small piece of paper as a guide, or slightly moistening the thread end to stiffen it for easier threading.
How do I knot thread on a needle?
After threading, pull one end until you have about 4-6 inches of tail. Make a small loop with the longer end, pass the tail through the loop, and pull tight. This creates a secure knot that won’t slip through fabric.
How do I thread a needle with poor eyesight?
Use automatic threading devices like the Infila threader, self-threading needles with slotted eyes, or enhanced lighting with magnification. The fold-over method also works well because it relies more on feel than precise vision.
How can I thread a needle in 1 second?
Master the fold-over technique until it becomes muscle memory. Have your thread pre-cut at an angle, use the fold-over motion in one smooth movement, and practice until the motion becomes automatic.
How do I start sewing by hand?
Begin with basic hand sewing supplies and practice threading needles using multiple methods. Start with simple projects like button reattachment or basic hemming before moving to more complex work.
Why is it so hard to thread a needle?
Common challenges include poor lighting, frayed thread ends, mismatched needle and thread sizes, unsteady hands, or simply using inefficient techniques. Most difficulties disappear with proper preparation and the right method.
What tool helps you thread a needle?
Needle threaders are the most common tool – simple wire loops that pull thread through needle eyes. Automatic threading devices, magnifying glasses, and good lighting also help significantly.
How do I get thread to stay on a needle?
Pull at least 4 inches of thread through the eye and tie a knot at the end. If thread keeps slipping out, you may need a smaller needle eye or should check for rough edges on the needle.
Does looking away from a needle help?
For some people, peripheral vision works better than direct focus for threading. Try looking slightly to the side of the needle eye while threading, or use the fold-over method which relies less on precise vision.
What is the needle eye technique?
This refers to bringing the needle to the thread instead of the thread to the needle. Hold the thread steady and maneuver the needle eye over the thread end – essentially the principle behind the fold-over method.
How do I thread a needle when I can’t see well?
Use accessibility tools like automatic threaders, slotted-eye needles, or high-contrast backgrounds. Practice the fold-over method, which works largely by feel. Consider specialized lighting and magnification aids.
Do I thread a needle front to back?
For hand sewing, direction doesn’t matter functionally, but front-to-back is traditional. For sewing machines, always follow your manual – most specify front-to-back threading.
How do I thread a fine needle by hand?
Use the finest thread appropriate for your project, cut at a sharp angle, ensure excellent lighting, and consider the fold-over method which works even with very fine needles and threads.
What are the easiest needles to thread?
Self-threading needles with slotted eyes are easiest, followed by large-eye needles like tapestry or chenille needles. Choose needles with smooth, well-finished eyes that won’t snag thread.
Why won’t my needle stay threaded?
Check that you’ve pulled enough thread through (4+ inches), tie a proper knot, ensure the needle eye isn’t too large for your thread, and verify the needle eye is smooth without rough edges.
How do I thread a needle with tweezers?
Use fine-pointed tweezers to grip the thread end firmly. Guide the tweezers and thread through the needle eye together, then release the tweezers and pull the thread through completely.
Are there multiple ways to thread a needle?
Yes! This guide covers eight different methods: fold-over pinch, traditional hand threading, moisture technique, needle threaders, self-threading needles, paper assist, machine threading, and accessibility solutions.
How can I track my progress learning different threading methods?
Our interactive progress tracker helps you systematically master all threading techniques. Track successful attempts, monitor your skill development, and celebrate achievements as you build confidence with visual progress bars and milestone celebrations.
Your Complete Threading Toolkit
Mastering needle threading becomes much easier with the right tools and systematic approach:
- Threading Success Checklist – Ensure optimal conditions for 90%+ success rate
- Threading Method Quiz – Get personalized technique recommendations
- Progress Tracker – Monitor your skill development and celebrate milestones
These interactive tools work together to transform threading from a frustrating challenge into a confident, reliable skill.
Conclusion
Threading a needle successfully comes down to choosing the right method for your situation and preparing properly. The fold-over pinch technique revolutionizes the experience for most people, but having multiple methods in your toolkit ensures you’re never stuck.
Essential takeaways for threading success:
- Master the fold-over method first – it’s the most reliable technique requiring no special tools
- Prepare properly with sharp scissors, good lighting, and quality materials
- Match your needle and thread to your fabric and project requirements
- Keep backup methods ready – needle threaders, self-threading needles, or paper assists
- Don’t let vision or dexterity challenges stop you – modern accessibility tools make threading possible for everyone
For continued sewing success, invest in quality supplies, practice your chosen threading methods until they become second nature, and remember that even experienced sewers sometimes struggle with threading. The key is having multiple reliable techniques and the right tools for your needs.
Whether you’re just starting your sewing journey or looking to improve existing skills, mastering needle threading opens the door to countless creative possibilities. From simple repairs to intricate embroidery, every sewing project begins with this fundamental skill.
Start practicing today with our threading method quiz to find your ideal technique, then track your progress with our skill development tracker. With these proven methods and tools, you’ll never again let needle threading frustration stop you from enjoying the satisfying art of hand sewing.
Remember: threading a needle is a skill that improves with practice. Be patient with yourself, use the right tools and techniques, and soon you’ll be threading needles quickly and confidently for any sewing project.

