Keep your sewing machine running smoothly with professional maintenance techniques, troubleshooting solutions, and safety practices
Table of Contents
- Understanding Your Sewing Machine
- 5 Important Points on Caring for Your Sewing Machine
- 7 Steps in Cleaning Your Sewing Machine
- Oiling and Lubrication Guide
- 10 Essential Sewing Safety Rules
- Common Problems and Solutions
- Deep Cleaning Your Machine
- Professional Maintenance vs DIY
- Cost-Benefit Analysis
- Frequently Asked Questions
- Conclusion
Quick Start: Why Maintenance Matters
Your sewing machine is one of your most valuable creative tools, often costing more than specialized cutting equipment. Regular maintenance extends your machine’s lifespan by 40-60% and prevents 80% of common operational problems. Think of maintenance as an investment that protects both your machine and your creative projects.
Understanding Your Sewing Machine
Your sewing machine contains over 200 precision-engineered parts working together to create perfect stitches. Whether you own a mechanical, electronic, or computerized model, understanding these key components helps you maintain your machine effectively.
Key Components Every Owner Should Know
The Bobbin System: Your machine’s heartbeat. Run your finger along the metal bobbin case surface monthly. Rough edges or scratches indicate it’s time for replacement. A damaged case causes most thread tangles and stitch problems.
Needle and Needle Bar: Replace your needle after every project or when switching fabric types. A bent tip creates uneven stitches and can damage your fabric. The needle makes up 50% of your seam quality.
Tension Mechanisms: These control thread flow like traffic signals. Clean tension disks weekly with unwaxed dental floss to remove fiber buildup that affects stitch quality.
Feed Dogs: These teeth move your fabric through the machine. Keep them clean and properly aligned for smooth fabric feeding.
5 Important Points on Caring for Your Sewing Machine
Essential Care Principles
7 Steps in Cleaning Your Sewing Machine
Complete Cleaning Process
Oiling and Lubrication Guide
Should You Oil Your Sewing Machine?
Not all sewing machines need oiling. Modern computerized models often have sealed bearings that never require lubrication. Always check your manual first before applying any oil.
| Machine Type | Oiling Frequency | Oil Points | Notes |
|---|---|---|---|
| Mechanical/Vintage | Every 8-10 hours of use | Needle bar, hook assembly, motor bearings | Use only sewing machine oil |
| Electronic | Monthly with regular use | Check manual for specific points | Some models are self-lubricating |
| Computerized | Rarely needed | Usually sealed systems | Professional service recommended |
| Industrial | Every 40 million stitches | Multiple designated points | Heavy-duty oil may be required |
What Oil to Use and Where to Apply It
Use Only Sewing Machine Oil: Never use household oils, WD-40, olive oil, baby oil, or car oil. These attract dust, gum up mechanisms, and can damage internal parts. Stick to high-quality sewing machine oil like Singer, Tri-Flow, or manufacturer-recommended brands.
Common Oiling Points (when applicable):
- Needle bar: One drop where it moves up and down
- Hook assembly: Light coating on the bobbin race
- Take-up lever: Small amount on pivot points
- Motor bearings: One drop per bearing annually
Important: Over-oiling is as bad as under-oiling. Use only one drop per point and run the machine briefly to distribute oil. Wait 10-15 minutes after oiling before starting your project to allow excess oil to settle.
10 Essential Sewing Safety Rules
7 Types of Hazards in Sewing
Understanding potential hazards helps prevent accidents and keeps your sewing space safe:
- Mechanical hazards: Moving needles, rotating parts, and pinch points
- Electrical hazards: Damaged cords, water exposure, and power surges
- Sharp object hazards: Needles, scissors, and rotary cutters
- Repetitive strain hazards: Poor posture and repetitive motions
- Chemical hazards: Fabric treatments, adhesives, and cleaning solvents
- Fire hazards: Lint buildup near motors and electrical components
- Eye strain hazards: Poor lighting and close detail work
Common Problems and Solutions
Most sewing machine problems have simple solutions. Before calling a technician, work through this diagnostic process:
Thread Breaking
- Replace needle (most common cause)
- Check thread quality and age
- Re-thread upper thread completely
- Clean tension disks
- Verify correct thread weight for needle
Skipped Stitches
- Install fresh needle
- Use correct needle type for fabric
- Check threading path
- Clean bobbin area
- Don’t pull fabric while sewing
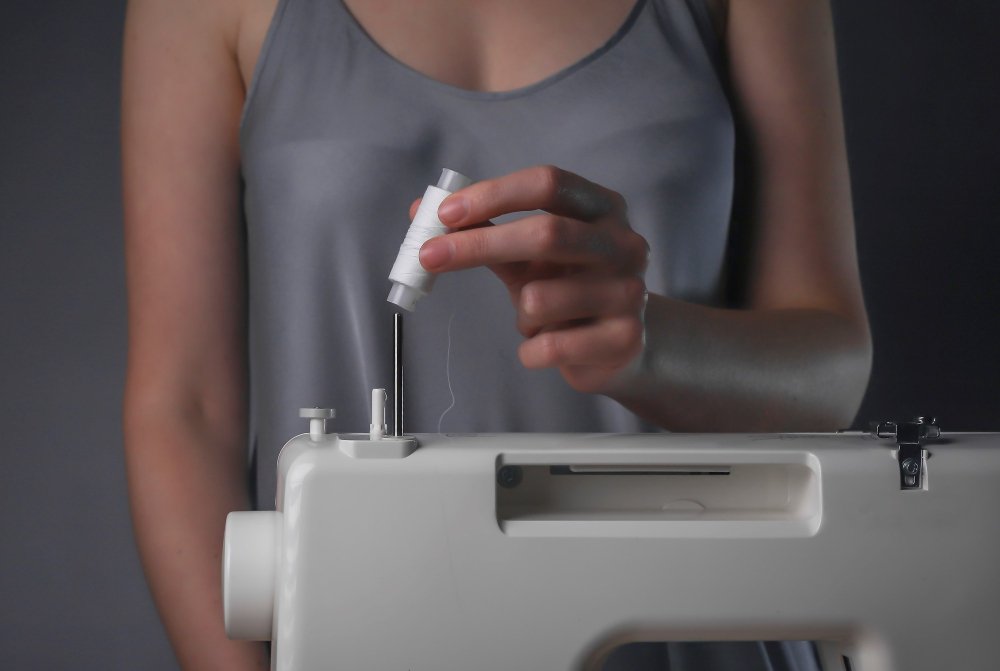
Machine Won’t Pick Up Thread
- Check bobbin insertion direction
- Verify needle is fully inserted
- Re-thread with presser foot up
- Clean hook assembly
- Check bobbin case for damage
Tension Problems
- Re-thread with presser foot raised
- Check bobbin threading direction
- Clean tension disks thoroughly
- Test on fabric scraps
- Adjust tension gradually
Needle Breaking
- Use correct needle size for fabric
- Check needle insertion alignment
- Don’t pull fabric while sewing
- Tighten needle clamp screw
- Check for bent presser foot
Strange Noises
- Stop sewing immediately
- Check for trapped thread or lint
- Verify all screws are tight
- Oil moving parts (if applicable)
- Contact technician if noise persists
First Thing to Check When Machine Isn’t Sewing Properly
Golden Rule: “Clean it first!” Many sewing problems stem from lint, dust, or thread buildup. Before adjusting tension or calling for service, thoroughly clean your machine. This simple step resolves most common issues.
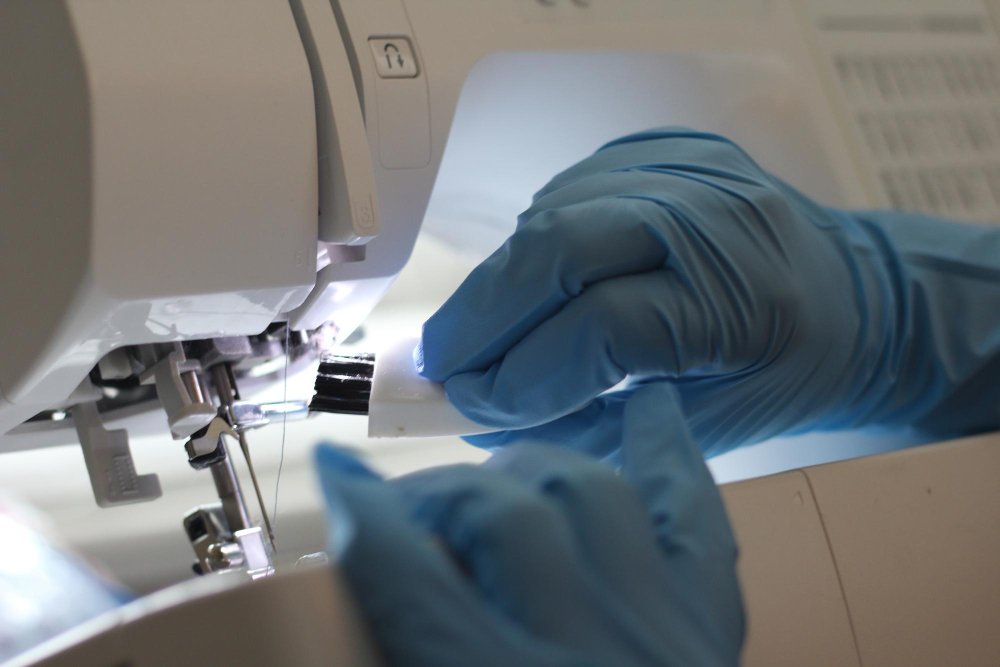
Deep Cleaning Your Machine
Monthly deep cleaning prevents major problems and keeps your machine running smoothly. Here’s how to do it safely:
Deep Cleaning Supplies You’ll Need
- Soft-bristled brush (included with most machines)
- Lint-free cloths or cotton swabs
- Compressed air (use carefully)
- Sewing machine oil (if required)
- Small screwdriver set
- Good lighting or flashlight
Can You Use Compressed Air?
Compressed air can be helpful but requires caution. Hold the nozzle 4-6 inches away and use short bursts. Never tilt the can, as propellant can damage internal parts. Some experts recommend using a small vacuum instead to pull lint out rather than blowing it deeper into the machine.
Can You Vacuum a Sewing Machine?
Yes, using a small handheld vacuum with a brush attachment is often safer than compressed air. It removes debris without forcing it deeper into mechanisms. Always use low suction to avoid damaging delicate parts.
Professional Maintenance vs DIY
Maintenance Cost Comparison
$50-$75
Basic cleaning & adjustments
$80-$120
Full service + warranty coverage
$65-$95
Convenient home visits
$15-$30
Supplies + your time
When to Seek Professional Service
Schedule professional maintenance if you notice:
- Grinding noises that persist after cleaning
- Inconsistent stitch patterns across all fabrics
- Timing issues (needle hitting bobbin case)
- Electronic display errors
- Need for software/firmware updates
- Major adjustments beyond basic maintenance
Average Lifespan of a Sewing Machine
With proper maintenance, a quality sewing machine can last 15-25 years or more. Vintage machines from the 1950s-1970s often outlast modern models when well-maintained. Industrial machines can operate for decades with regular professional service.
Cost-Benefit Analysis of Maintenance
ROI of Regular Maintenance
Annual maintenance costs $50-120, but prevents repairs that average $150-300. A well-maintained machine also maintains higher resale value and provides consistent stitch quality for professional results.
Maintenance vs Replacement Decision Matrix
| Machine Age | Repair Cost | Machine Value | Recommendation |
|---|---|---|---|
| 0-5 years | Under $100 | High | Always repair |
| 5-10 years | $100-200 | Medium | Usually repair |
| 10-15 years | Over $200 | Low-Medium | Consider replacement |
| 15+ years | Over $300 | Low | Usually replace |
Modern Machine Maintenance Differences

Computerized vs Mechanical Machines
Modern computerized machines require different care approaches than vintage mechanical models:
Computerized Machines:
- Often have self-lubricating systems
- Require firmware updates periodically
- More sensitive to voltage fluctuations
- Need professional service for internal adjustments
- May display error codes for diagnostics
Mechanical Machines:
- Require regular oiling of moving parts
- More user-serviceable adjustments
- Robust construction tolerates minor neglect
- Simpler troubleshooting process
- Parts often interchangeable between models
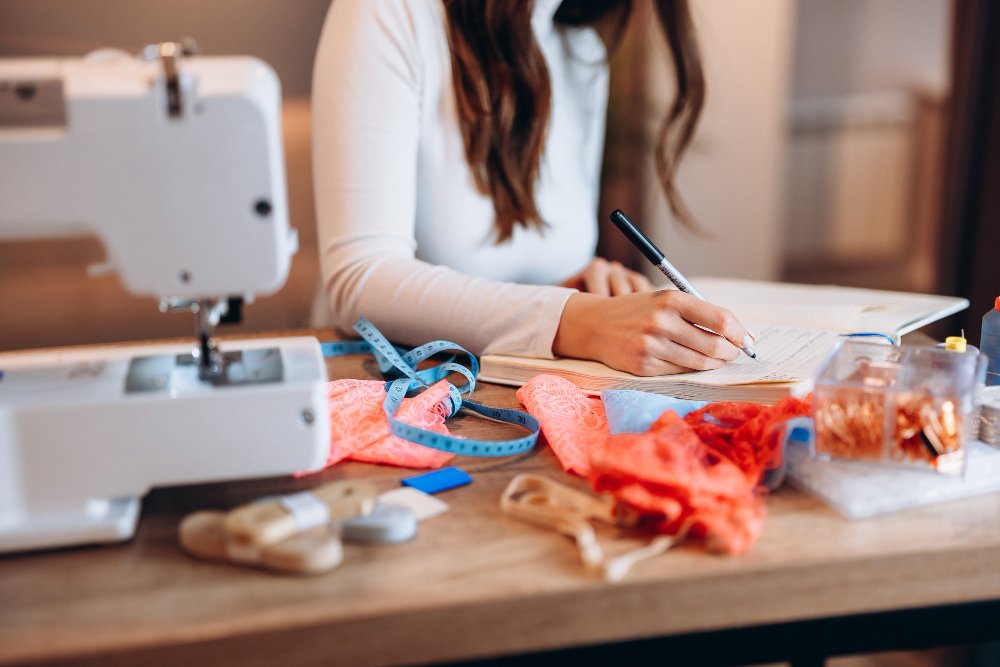
Specialized Fabric Considerations
Different fabrics create different maintenance needs. When working with lace fabrics or stretch materials, extra cleaning may be required as these fabrics shed more fibers. For detailed lace work, you might want to explore specialized lace techniques that put less stress on your machine.
Heavy fabrics require more frequent needle changes and may need tension adjustments. Choosing the right thread for your project also impacts maintenance frequency.
Frequently Asked Questions
How often should I clean my sewing machine?
Clean lint and dust after every project or every 8-10 hours of use. Wipe the exterior with a soft cloth and use a small brush for hard-to-reach areas. This prevents buildup and keeps stitches smooth.
Should I oil my sewing machine?
Not all sewing machines need oiling. Modern computerized models often have sealed bearings that never require lubrication. Always check your manual first before applying any oil. Only use sewing machine-specific oil, never household oils.
When should I replace the needle?
Replace needles every 8-12 hours of sewing or when switching fabric types. Dull or bent needles cause skipped stitches or snagged threads. Use quality needles like Schmetz or Organ for consistent results.
Can I use WD-40 to oil my sewing machine?
Never use WD-40, household oils, olive oil, or baby oil on your sewing machine. Only use sewing machine-specific oil. Household oils attract dust and gum up internal parts, potentially damaging your machine.
What are the common faults in a sewing machine?
Common problems include thread breaking, skipped stitches, tension issues, needle breaking, strange noises, and the machine not picking up thread. Most issues are caused by lint buildup, improper threading, or worn needles.
How do I avoid skipped stitches?
Use the correct needle type for your fabric (ballpoint for knits, universal for wovens), replace needles regularly, don’t pull fabric while sewing, ensure proper threading, and use quality thread.
What tool removes sewing mistakes?
A seam ripper is the essential tool for removing incorrect stitches. Use the pointed end to cut individual threads and the curved blade to slice through multiple stitches quickly. Always work slowly to avoid damaging fabric.
What’s the best way to maintain proper tension settings?
Check your manual for recommended tension ranges. Test on scrap fabric before starting a project. If stitches look uneven or loops form, adjust the dial incrementally until the thread lays flat. Always re-thread after tension problems.
Advanced Maintenance Tips
The Four Basic Sewing Processes Your Machine Performs
Understanding these processes helps you maintain each system properly:
- Thread Management: Upper and bobbin thread must work in harmony
- Fabric Feeding: Feed dogs move fabric at consistent speed
- Stitch Formation: Needle and hook create interlocked loops
- Tension Control: Proper tension creates balanced, secure stitches
Points to Remember When Operating Your Machine
- Always start with a fresh needle for new projects
- Test stitch settings on fabric scraps first
- Keep your work area well-lit and organized
- Use quality thread appropriate for your fabric
- Don’t force fabric through the machine
- Listen for unusual sounds that indicate problems
- Keep your manual handy for quick reference
Two Ways of Protecting Your Sewing Machine
Physical Protection: Use a dust cover when not in use, store in a stable environment away from direct sunlight and humidity, and transport carefully in a proper case.
Mechanical Protection: Follow proper operating procedures, use quality supplies, perform regular maintenance, and address problems quickly before they become major repairs.
The 8-Step Cleaning Procedure for Deep Maintenance
Professional-Level Deep Clean
Which Parts Should NOT Be Oiled?
Never oil these components:
- Rubber belts and drives
- Electronic components and circuit boards
- Plastic gears and cams
- Sealed bearings in modern machines
- Thread tension disks (clean only)
- Motor brushes in electronic models
When in doubt, consult your manual or contact your dealer before applying oil to any component.
Specific Troubleshooting Scenarios
What to Do When Using a Sewing Machine (Don’ts)
Perfect Order for Machine Cleaning
Follow this sequence for most effective cleaning:
- External surfaces and controls
- Thread paths and guides
- Needle area and presser feet
- Bobbin case and hook assembly
- Feed dogs and throat plate
- Internal mechanisms (if accessible)
- Final oil application (if required)
- Reassembly and testing
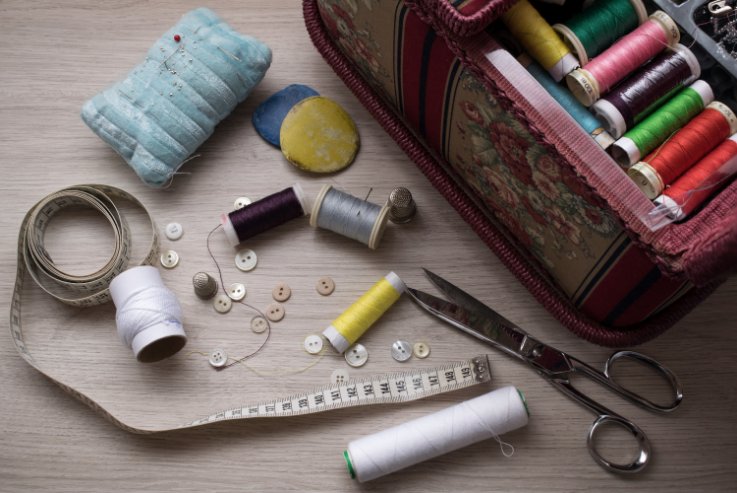
Most Essential Equipment in Sewing
While many tools support sewing, these are absolutely essential:
- Sharp, appropriate needles: Make up 50% of stitch quality
- Quality thread: The other 50% of your seam strength
- Clean, well-maintained machine: Your primary creative tool
- Proper lighting: Essential for accuracy and eye health
- Sharp scissors: For clean cuts and finishing
For comprehensive guidance on troubleshooting common issues or understanding different presser feet, explore our detailed guides.
Conclusion
Proper sewing machine maintenance transforms your creative process from frustrating to seamless. Regular attention not only prevents mechanical issues but directly impacts the quality of every stitch you make. Your machine is an investment in your creativity, and like any valuable tool, it rewards careful attention with years of reliable service.
Essential Maintenance Principles
Remember the golden rule: clean your machine first before troubleshooting any problem. Most issues stem from simple lint buildup or improper threading. Regular cleaning after every 8-10 hours of use prevents 80% of common operational problems.
Quality Matters
Invest in quality needles, thread, and maintenance supplies. Poor-quality materials cause more problems than they solve and can damage your machine over time. The needle and thread together make up 100% of your stitch quality.
Know Your Limits
While basic maintenance is DIY-friendly, know when to seek professional help. Unusual noises, timing issues, or persistent problems after basic troubleshooting indicate the need for expert service. Annual professional maintenance is a smart investment for frequent sewers.
Safety First
Always unplug your machine before performing any maintenance. Keep your work area organized, use proper lighting, and replace worn parts immediately. A safe sewing environment protects both you and your machine.
Modern vs. Vintage Considerations
Understand your machine type. Computerized models often have sealed systems requiring less oil but more professional service. Mechanical machines are more user-serviceable but need regular lubrication. Both benefit from consistent cleaning and quality supplies.
Your Next Steps
Start implementing these maintenance practices today:
- Schedule brief weekly check-ins with your machine
- Create a maintenance log to track oiling dates and needle changes
- Stock up on quality supplies: needles, thread, and cleaning tools
- Bookmark this guide for quick reference during maintenance
- Consider professional service if you haven’t had one recently
Remember: proactive care saves money on repairs and prevents frustration during creative projects. Your dedication to machine maintenance directly impacts your joy in sewing. What simple maintenance step will you implement this week to honor your machine’s needs and enhance your creative journey?
For additional sewing guidance, explore our comprehensive resources on getting started with sewing, essential supplies, and understanding different stitches.
References and Additional Resources: