Master the fundamentals of seam allowances with expert techniques, historical insights, and practical tips for perfect sewing results
Table of Contents
- What Are Seam Allowances?
- The Historical Evolution of Seam Allowances
- What is the Traditional Seam Allowance?
- What is the General Rule for a Seam Allowance?
- What are the Three Types of Seams?
- The History and Technique of French Seams
- Modern Standard Measurements
- Techniques for Perfect Seam Allowances
- Fabric-Specific Guidelines
- Interactive Seam Allowance Calculator
- Troubleshooting Common Problems
- Frequently Asked Questions
- Conclusion
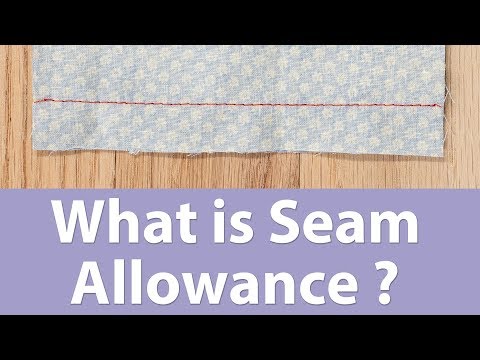
What Are Seam Allowances?
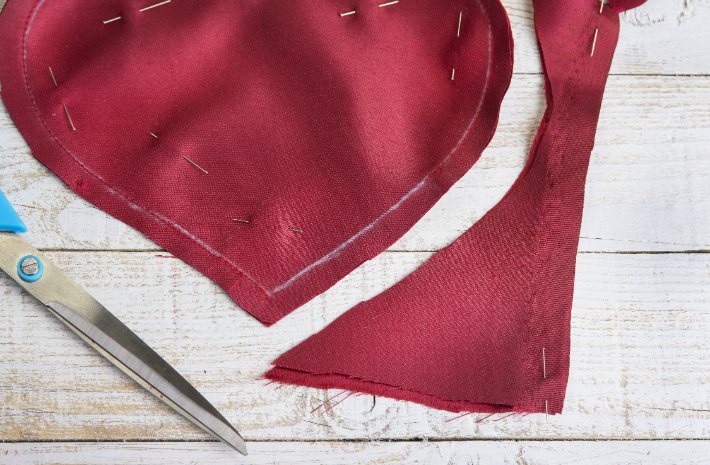
A seam allowance is the distance between your stitching line and the raw edge of fabric. Think of it as your safety margin and construction space combined. This seemingly simple concept actually determines how your garments fit, how long they last, and whether future alterations are possible.
Seam allowances serve multiple critical functions in garment construction. They prevent fraying at the edges, provide room for adjustments during fitting, and create structural integrity in your finished pieces. Without proper allowances, seams can pull apart under stress or create unsightly puckering.
Why Seam Allowances Matter
The width of your seam allowance directly affects garment quality. Too narrow, and stitches might unravel under stress. Too wide, and you create unwanted bulk that affects the garment’s drape and appearance. The key lies in choosing the right width for your fabric and construction method.
Consistent seam allowances also prevent fitting problems. When joining curved pieces like armholes to sleeves, uneven allowances can cause puckering or distortion. Professional-looking results depend on maintaining uniform margins throughout your project.
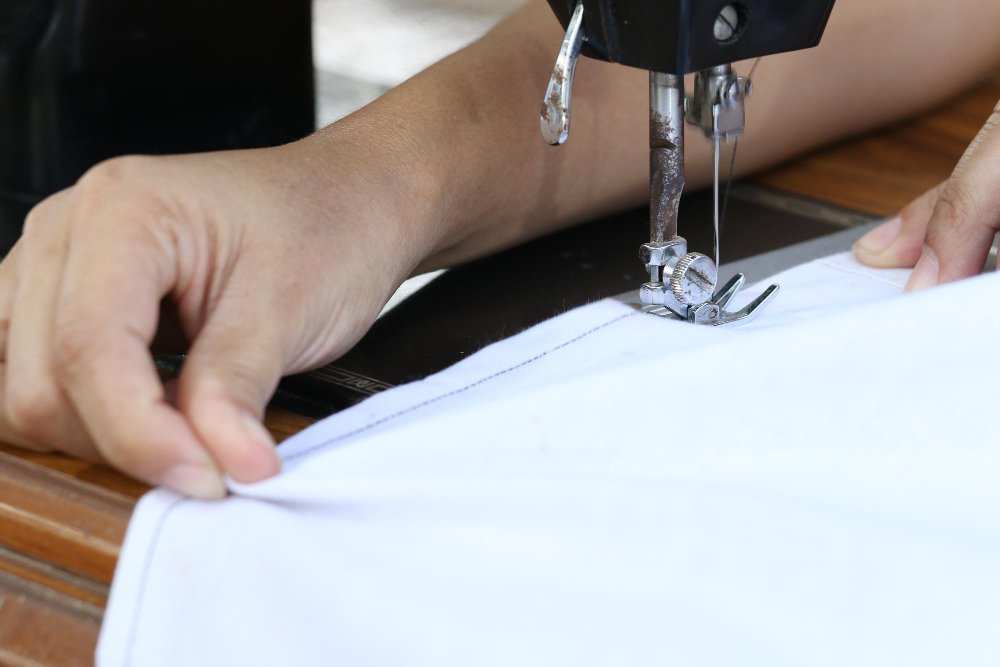
Learn the fundamental concepts of seam allowances with this comprehensive tutorial
The Historical Evolution of Seam Allowances
Understanding how seam allowances developed helps modern sewers make better choices. Throughout history, fabric availability, construction methods, and cultural priorities shaped seam allowance practices.
Historical Seam Allowance Timeline
| Era | Standard Width | Primary Reason | Typical Fabrics |
|---|---|---|---|
| Medieval | 1/4 inch | Fabric conservation | Wool, linen |
| Renaissance | 3/8 inch | Increased availability | Silk, velvet |
| 18th-19th Century | 1/2 inch | Fitting refinement | Cotton, muslin |
| Industrial Era | 5/8 inch | Machine standardization | Mass-produced textiles |
| Modern | Variable | Fabric-specific needs | Synthetics, blends |
What is the Traditional Seam Allowance?
The concept of “traditional” seam allowances varies significantly across cultures and time periods. Before industrial standardization, allowances were determined by fabric cost, garment purpose, and construction methods rather than universal standards.
In pre-industrial Europe, everyday garments typically used 1/4 to 3/8-inch allowances. These narrow margins conserved precious fabric while providing sufficient material for basic construction. Wealthy households could afford wider allowances, sometimes reaching 3/4 inch for garments requiring frequent alterations.
Historical documentation from the Smithsonian reveals that 19th-century seamstresses worked with pre-cut bundles designed to minimize fabric waste. Their allowances were often determined by the shop owner’s desire to maximize profit rather than construction quality.
Regional Variations in Traditional Practices
Different cultures developed unique approaches based on local conditions. Japanese kimono construction used minimal allowances to showcase fabric patterns, while European tailors varied their approach based on garment type and client status.
Traditional hand-sewing techniques influenced these choices significantly. Without machine constraints, seamsters could use narrower allowances while maintaining complete control over stitch placement and tension.
What is the General Rule for a Seam Allowance?
The fundamental rule for seam allowances is simple: use the minimum width that ensures secure construction while accommodating your finishing method and fabric type. This principle balances material efficiency with structural integrity.
Basic Guidelines by Category
Fabric Weight Guidelines
- Lightweight fabrics (chiffon, silk): 1/4 to 3/8 inch to prevent bulk
- Medium-weight fabrics (cotton, linen): 5/8 inch standard
- Heavy fabrics (denim, coating): 3/4 to 1 inch for stability
- Stretch fabrics (knits): 1/4 to 3/8 inch with appropriate stitches
Construction Type Guidelines
- Straight seams: Follow fabric-weight recommendations
- Curved seams: Use narrower allowances for smooth curves
- Stress points: Increase allowance by 1/4 inch for durability
- Enclosed seams: Plan for double-folding requirements
Quick Reference: Seam Allowance Selection
| Fabric Type | Standard Allowance | Curved Seams | Special Considerations |
|---|---|---|---|
| Chiffon/Voile | 1/4 inch | 1/4 inch | French seams recommended |
| Cotton/Linen | 5/8 inch | 3/8 inch | Standard finishing works well |
| Denim/Canvas | 3/4 inch | 1/2 inch | Flat-fell seams ideal |
| Jersey Knits | 1/4 inch | 1/4 inch | Serged edges preferred |
| Wool Coating | 1 inch | 5/8 inch | Hong Kong finish recommended |
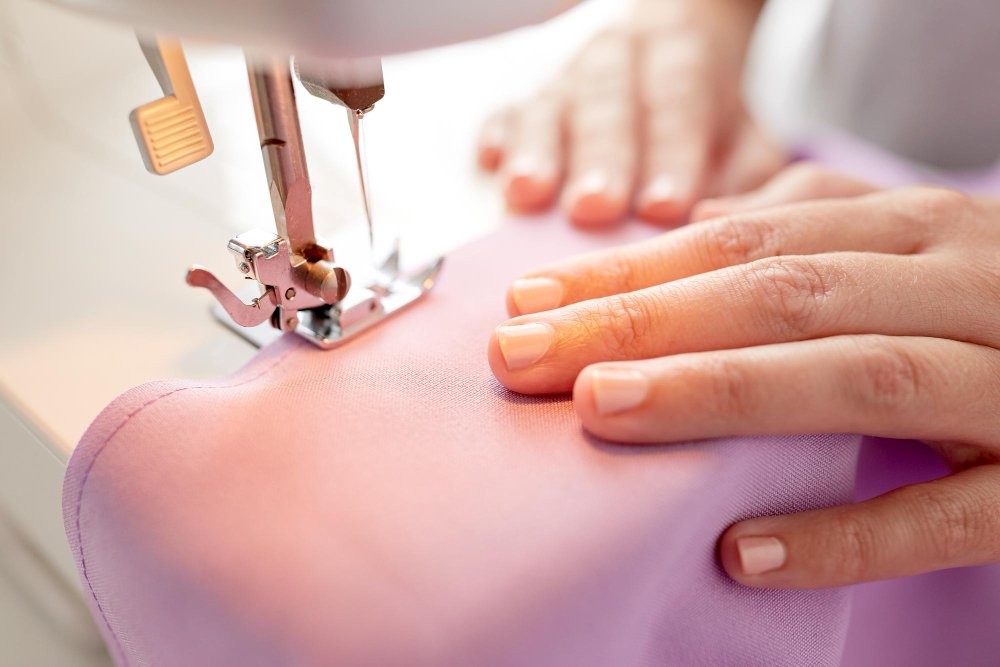
Learn eight professional seam techniques that showcase proper allowance usage
What are the Three Types of Seams?
Understanding seam categories helps you select appropriate allowances for different construction needs. Each type serves specific purposes and requires different allowance planning.
1. Plain Seams
The most common construction method where fabric pieces are placed right sides together and stitched. Plain seams use standard allowances and require separate edge finishing to prevent fraying. They’re versatile and suitable for most garment construction.
2. Enclosed Seams
These seams completely contain raw edges within the seam structure. French seams, flat-fell seams, and bound seams fall into this category. They require wider initial allowances to accommodate the folding or encasing process but eliminate the need for separate edge finishing.
3. Decorative Seams
Seams designed to be visible on the garment’s right side. Topstitched seams, piped seams, and contrast seams serve both functional and aesthetic purposes. Allowance width varies based on the decorative element and desired appearance.
Seam Types and Required Allowances
| Seam Category | Examples | Typical Allowance | Best Applications |
|---|---|---|---|
| Plain Seams | Basic straight stitch | 5/8 inch | General construction |
| Enclosed Seams | French, flat-fell, bound | 5/8 to 3/4 inch | Unlined garments, stress areas |
| Decorative Seams | Topstitched, piped | Variable | Design features, sportswear |
The History and Technique of French Seams
French seams represent one of the most elegant solutions in garment construction. Despite their name, this technique wasn’t exclusively French but became associated with fine French dressmaking during the 18th and 19th centuries.
The technique emerged from the practical need to fully enclose raw edges, particularly important for delicate fabrics prone to fraying. French seams became the hallmark of quality construction in undergarments and fine clothing where both durability and appearance mattered.
How Much Seam Allowance Do French Seams Use?
French seams require careful planning because they’re constructed in two steps. You need at least 5/8-inch total allowance to create a proper French seam with a finished width of 1/4 inch.
The beauty of French seams lies in their completely enclosed raw edges. This makes them perfect for garments that require frequent washing or where the inside might be visible, such as silk blouses or high-quality linens.
Historical Development of French Seams
The technique gained prominence during the Victorian era when undergarments required both durability and refinement. Historical sewing documentation shows that French seams were considered the mark of superior craftsmanship.
Modern Standard Measurements
Today’s seam allowance standards reflect decades of pattern industry evolution. Understanding these standards helps you work with commercial patterns and adapt techniques from different sources.
Commercial Pattern Standards
Most major pattern companies use 5/8-inch seam allowances as their default. This width provides adequate material for alterations while preventing fraying on medium-weight fabrics. Companies like Simplicity, McCall’s, and Butterick have standardized on this measurement for consistency.
European patterns often use metric measurements, typically 1.5 cm (approximately 5/8 inch) or 1 cm (3/8 inch) depending on the application. Independent designers may use different standards, so always check pattern instructions.
Industry-Specific Standards
Different sewing applications have developed their own conventions:
- Quilting: 1/4-inch seams for precision piecing
- Home decor: 1/2 to 5/8 inch for durability
- Costume construction: Varies by historical period
- Activewear: 1/4 to 3/8 inch with stretch stitches
Modern Seam Allowance Applications
| Application | Standard Width | Rationale | Typical Fabrics |
|---|---|---|---|
| Commercial Patterns | 5/8 inch | Alteration allowance | Most woven fabrics |
| Quilting | 1/4 inch | Precision piecing | Cotton quilting fabrics |
| Activewear | 1/4 to 3/8 inch | Stretch accommodation | Performance knits |
| Home Decor | 1/2 to 5/8 inch | Durability needs | Upholstery weights |
| Lingerie | 1/4 inch | Bulk reduction | Delicate fabrics |
| Outerwear | 3/4 to 1 inch | Heavy fabric handling | Coatings, woolens |
Techniques for Perfect Seam Allowances
Achieving consistent, accurate seam allowances requires the right combination of tools, techniques, and practice. Professional results depend on precision from the very first cut through final pressing.
Essential Tools and Equipment
Specialized presser feet transform your sewing machine into a precision instrument. A 1/4-inch foot ensures perfect quilting seams, while adjustable guides help with varying allowance widths. Magnetic seam guides provide consistent edge placement without permanent machine modifications.
For marking and measuring, invest in quality rulers and measuring tools. A quilting ruler with clear markings helps verify machine settings. Washable fabric markers allow temporary guidelines for tricky fabrics or complex curves.
Machine Setup and Calibration
Your sewing machine’s throat plate markings provide built-in guidance, but these should be verified for accuracy. Needle position changes can affect the relationship between markings and actual seam placement. Test with scraps before starting important projects.
Blue painter’s tape offers a temporary solution for custom widths. Place it parallel to the needle at your desired measurement, creating a visual and tactile guide. Remove and replace as needed without leaving residue.

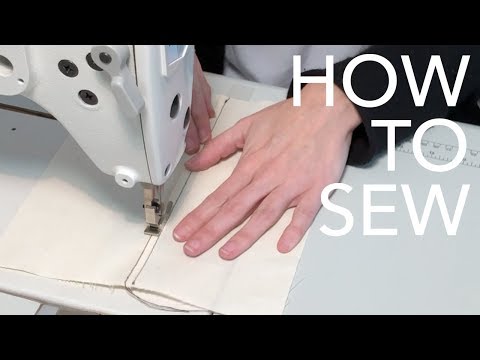
Master professional techniques for trimming, grading, and clipping seam allowances
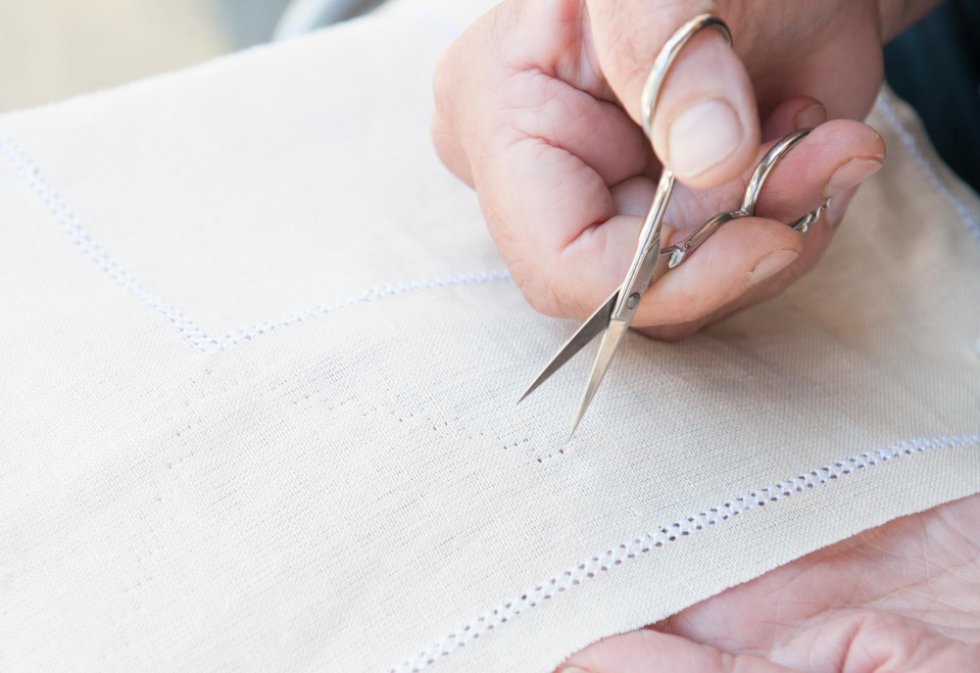
Cutting and Preparation Techniques
Accurate cutting sets the foundation for consistent seam allowances. Use sharp rotary cutters or fabric shears, and ensure your cutting surface is smooth and stable. When working with patterns, double-check that seam allowances are included or need to be added.
For curved seams, plan your allowance width based on the curve’s tightness. Gentle curves can accommodate standard allowances, while tight curves need narrower margins to prevent bunching when sewn.
Fabric-Specific Guidelines
Different fabrics behave uniquely, requiring adjusted approaches to seam allowances. Understanding these characteristics helps you choose appropriate widths and finishing methods for optimal results.
Natural Fiber Considerations
Cotton fabrics generally work well with standard 5/8-inch allowances. Their stable weave and moderate fraying make them forgiving for beginners. Linen requires slightly wider allowances due to its tendency to fray, while silk often benefits from narrower allowances to reduce bulk.
Wool fabrics vary dramatically in their requirements. Lightweight wools like challis can use standard allowances, while heavy coatings need wider margins for proper handling and pressing.
Synthetic and Blend Fabrics
Stretch fabrics require special consideration. Knits often work best with 1/4-inch allowances sewn with stretch stitches or a serger. The key is preventing the seam from popping when the fabric stretches.
Synthetic wovens like polyester often fray less than natural fibers, allowing for narrower allowances. However, they can be slippery during construction, making consistent allowances more challenging to maintain.
Fabric-Specific Seam Allowance Recommendations
| Fabric Category | Examples | Recommended Allowance | Special Considerations |
|---|---|---|---|
| Lightweight Natural | Silk, cotton voile, wool challis | 1/4 to 3/8 inch | French seams ideal |
| Medium Natural | Cotton broadcloth, linen | 5/8 inch | Standard finishing works |
| Heavy Natural | Denim, canvas, coating | 3/4 to 1 inch | Grading often needed |
| Stretch Knits | Jersey, ponte, athletic wear | 1/4 to 3/8 inch | Serged edges preferred |
| Synthetic Wovens | Polyester, nylon, blends | 3/8 to 5/8 inch | Heat-sensitive pressing |
| Delicate/Sheer | Chiffon, organza, lace | 1/4 inch | Narrow hems essential |
Special Fabric Challenges
Lace fabrics require minimal allowances to showcase their delicate patterns. Chantilly lace and French lace work best with 1/4-inch allowances and careful handling to prevent snagging.
Pile fabrics like velvet need special attention to prevent crushing during construction. Slightly wider allowances help accommodate the fabric’s thickness while allowing proper pressing techniques.
Interactive Seam Allowance Calculator
Find Your Perfect Seam Allowance
Answer a few questions about your project to get personalized seam allowance recommendations.
Troubleshooting Common Problems
Even experienced sewers encounter seam allowance challenges. Understanding common problems and their solutions helps you achieve professional results consistently.
Solution: Invest in consistent measuring tools and develop steady machine handling. Mark difficult fabrics with temporary guidelines and maintain even feeding speed. For comprehensive troubleshooting, consult our detailed troubleshooting guide.

Learn professional seam finishing techniques that don’t require specialized equipment
Common Issues and Solutions
Puckering in Curved Seams
Curved seams require narrower allowances (1/4 to 3/8 inch) and proper clipping or notching. Match your allowance width to the curve’s radius. Tighter curves need narrower allowances to lie flat when turned.
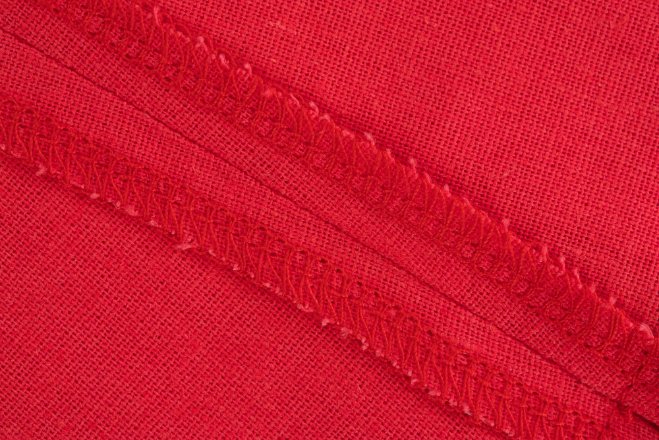
Fraying and Edge Instability
Fabrics that fray heavily need immediate edge treatment. Apply seam sealant sparingly or use pinking shears immediately after cutting. Consider graded seam allowances to reduce bulk while maintaining security.
Bulk at Seam Intersections
Multiple seams meeting at one point create unwanted thickness. Use graded allowances where seams intersect, trimming each layer to a different length. Press seams open rather than to one side when possible.
Inconsistent Machine Stitching
Machine settings affect seam quality. Check tension, needle size, and thread weight for your fabric. Use appropriate presser foot pressure and consider a walking foot for challenging materials.
Frequently Asked Questions
Conclusion
Mastering seam allowances bridges the gap between amateur and professional sewing. These seemingly simple margins carry centuries of craftsmanship wisdom while enabling modern construction efficiency. Understanding their proper application transforms both your process and results.
Essential Principles to Remember
Historical Context Informs Modern Choices: The evolution from medieval 1/4-inch conservation to modern 5/8-inch standards reflects changing fabric availability and construction methods. This knowledge helps you make informed decisions for contemporary projects.
Fabric Drives Allowance Selection: Different materials require different approaches. Lightweight fabrics need narrow allowances to prevent bulk, while heavy materials require wider margins for stability. Always test on scraps before committing to main fabric pieces.
Consistency Ensures Professional Results: Invest in quality tools and develop systematic approaches. Proper presser feet and measuring devices make dramatic differences in final garment quality.
Progressive Skill Development Path
Begin with standard 5/8-inch allowances on medium-weight cotton fabrics. Master basic construction before attempting specialized techniques or challenging materials. Understanding thread selection complements seam allowance knowledge for optimal results.
As skills advance, experiment with fabric-specific allowances and specialized seam types. Learn when to grade seam allowances and how different finishing methods affect construction choices.
Advanced sewers can explore historical techniques, international construction methods, and innovative approaches. Teaching these skills to others helps preserve traditional knowledge while adapting it for contemporary needs.
Future Applications
Modern technology continues evolving, but fundamental seam allowance principles remain constant. Whether working with traditional natural fibers or cutting-edge synthetic materials, proper allowance selection ensures construction success.
The journey from basic straight seams to complex couture techniques begins with understanding these fundamental margins. Every accomplished seamstress, from Victorian dressmakers to contemporary designers, has mastered these basics before advancing to specialized applications.
Remember that quality construction starts with thoughtful planning. Choose seam allowances deliberately based on fabric, construction method, and intended use. Test techniques thoroughly and maintain consistency throughout your work. With these principles guiding your approach, you’ll create garments that honor both traditional craftsmanship and modern functionality.