Master precise measurements with the right tools for professional-quality sewing results
Key Takeaways
- Precision tools dramatically improve sewing project quality – The right seam gauge can transform your stitching accuracy
- Modern measuring devices reduce errors and save time – Updated designs solve common measurement frustrations
- Different gauge types serve specific purposes – Match your tool choice to your most frequent sewing tasks
- Feature selection should align with your specific needs – Consider your skill level and project types when choosing
- Proper maintenance extends tool lifespan – Regular care keeps your measurements accurate and reliable
Table of Contents
- What is a Seam Gauge and Why It’s Essential
- Types of Seam Gauges and Their Functions
- Best Seam Gauges for 2025
- Magnetic vs Traditional Seam Gauges
- Adhesive and Stick-On Seam Guides
- How to Choose the Right Seam Gauge
- Expert Tips and Techniques
- Troubleshooting Common Issues
- Maintenance and Care
- Frequently Asked Questions
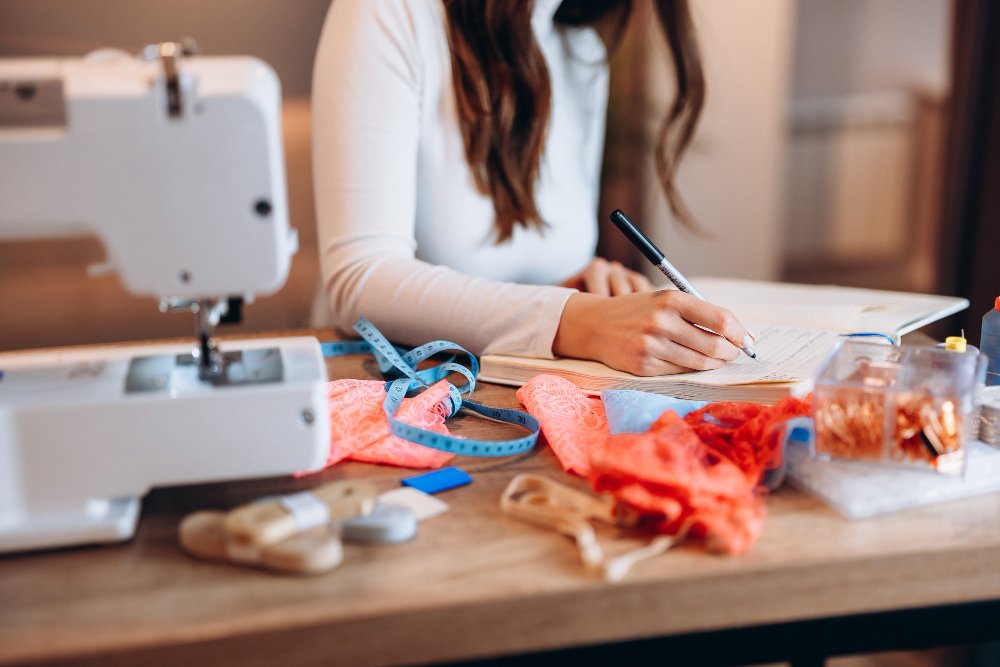
What is a Seam Gauge and Why It’s Essential for Your Sewing Projects
Ever wonder why some sewing projects look polished while others feel amateurish? The secret often lies in precise measurements. A seam gauge is a specialized measuring tool that helps you achieve consistent seam allowances, perfect hems, and accurate spacing throughout your sewing projects.
Whether you’re hemming pants or crafting quilts, using the right measuring tool can elevate your work from “good enough” to professional-grade. Modern sewing tools have evolved far beyond basic rulers, combining durability with smart features that simplify complex tasks.
What is a Seam Gauge Used For?
A seam gauge serves multiple essential functions in sewing:
- Measuring and marking seam allowances – Ensures consistent spacing between stitching lines and fabric edges
- Creating even hems – Maintains uniform hem depths across garments
- Spacing buttonholes accurately – Prevents uneven button placement
- Marking tucks and pleats – Achieves professional-looking fabric folds
- Drawing curves and scallops – Creates decorative elements with precision
Understanding Seam Allowances
A seam allowance refers to the space between your stitching line and the raw fabric edge. This margin allows for adjustments during fitting and prevents unraveling. Quilters often use a precise 1/4″ width, while garment makers typically opt for 5/8″ to accommodate alterations.
“After decades of uneven quilting, using a measuring tool transformed my 1/4″ seams from wobbly to razor-straight.” – Professional Quilter
Incorrect allowances create chain reactions. They cause twisted seams in curved designs or bulky overlaps in layered materials. Precision becomes critical when working with delicate fabrics like silk or stretchy knits that demand uniform tension.
Is Seam Gauge a Measuring Tool?
Yes, a seam gauge is specifically designed as a measuring tool for sewing. Unlike tape measures that can stretch over time, seam gauges provide rigid, accurate measurements for short distances. The built-in sliding marker eliminates the need for separate marking tools, making measurements faster and more consistent.
Types of Seam Gauges and Their Key Functions
Modern devices come in several distinct styles, each designed for specific sewing tasks and preferences:
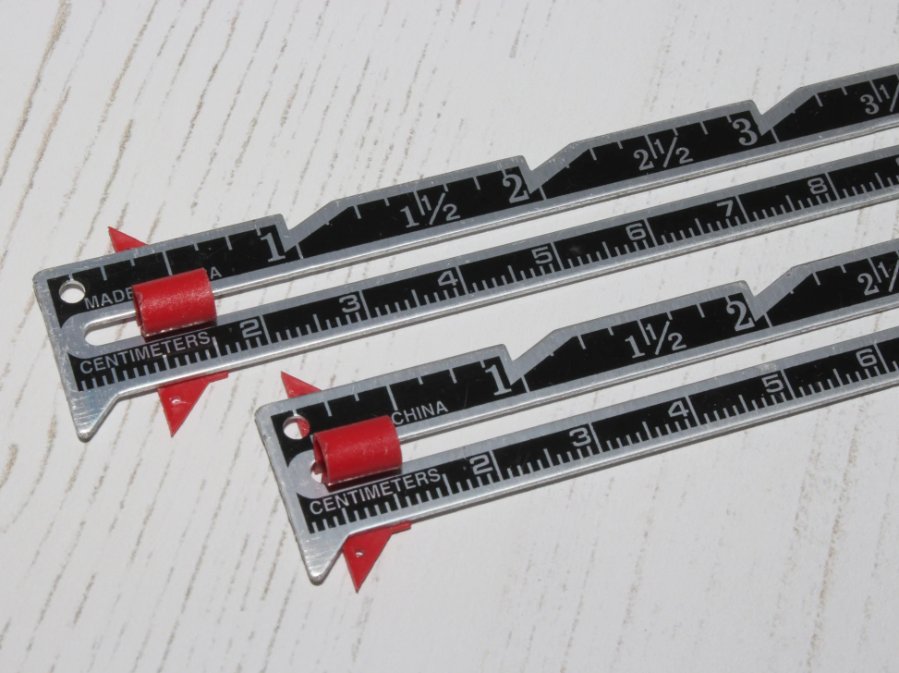
Traditional Sliding Seam Gauges
The classic metal or plastic ruler with an adjustable sliding marker remains the most versatile option. These 6-inch measuring tools feature clear markings in both inches and centimeters, with a slider that locks in place for repeated measurements.
What is a 6 Seam Gauge?
A “6 seam gauge” typically refers to a 6-inch seam gauge, which is the standard length for most sewing measuring tools. This size provides enough range for most garment and quilting measurements while remaining compact enough for easy storage and handling.
Magnetic Seam Guides
These innovative tools attach directly to your sewing machine’s metal needle plate, creating a physical barrier that guides fabric edges effortlessly. Magnetic guides excel at repetitive tasks like hemming jeans or assembling quilt blocks.
Specialized Angular Gauges
Triangle and angular measuring tools help with specific tasks like half-square triangles in quilting or bias tape applications. These preset guides eliminate calculation errors and speed up complex piecing work.
What Do Seam Gauges Do in Sewing?
Seam gauges perform several critical functions that improve sewing accuracy:
- Measure consistent seam allowances across projects
- Mark hem depths for even finishing
- Space design elements like buttons and pleats
- Create templates for repeated measurements
- Reduce measurement errors and rework time
Best Seam Gauges for 2025
We tested popular models to help you find the right measuring tool for flawless seams and hems. Our analysis focuses on durability, functionality, and value across different project types.
| Product | Price | Material | Best For | Key Features | Rating |
|---|---|---|---|---|---|
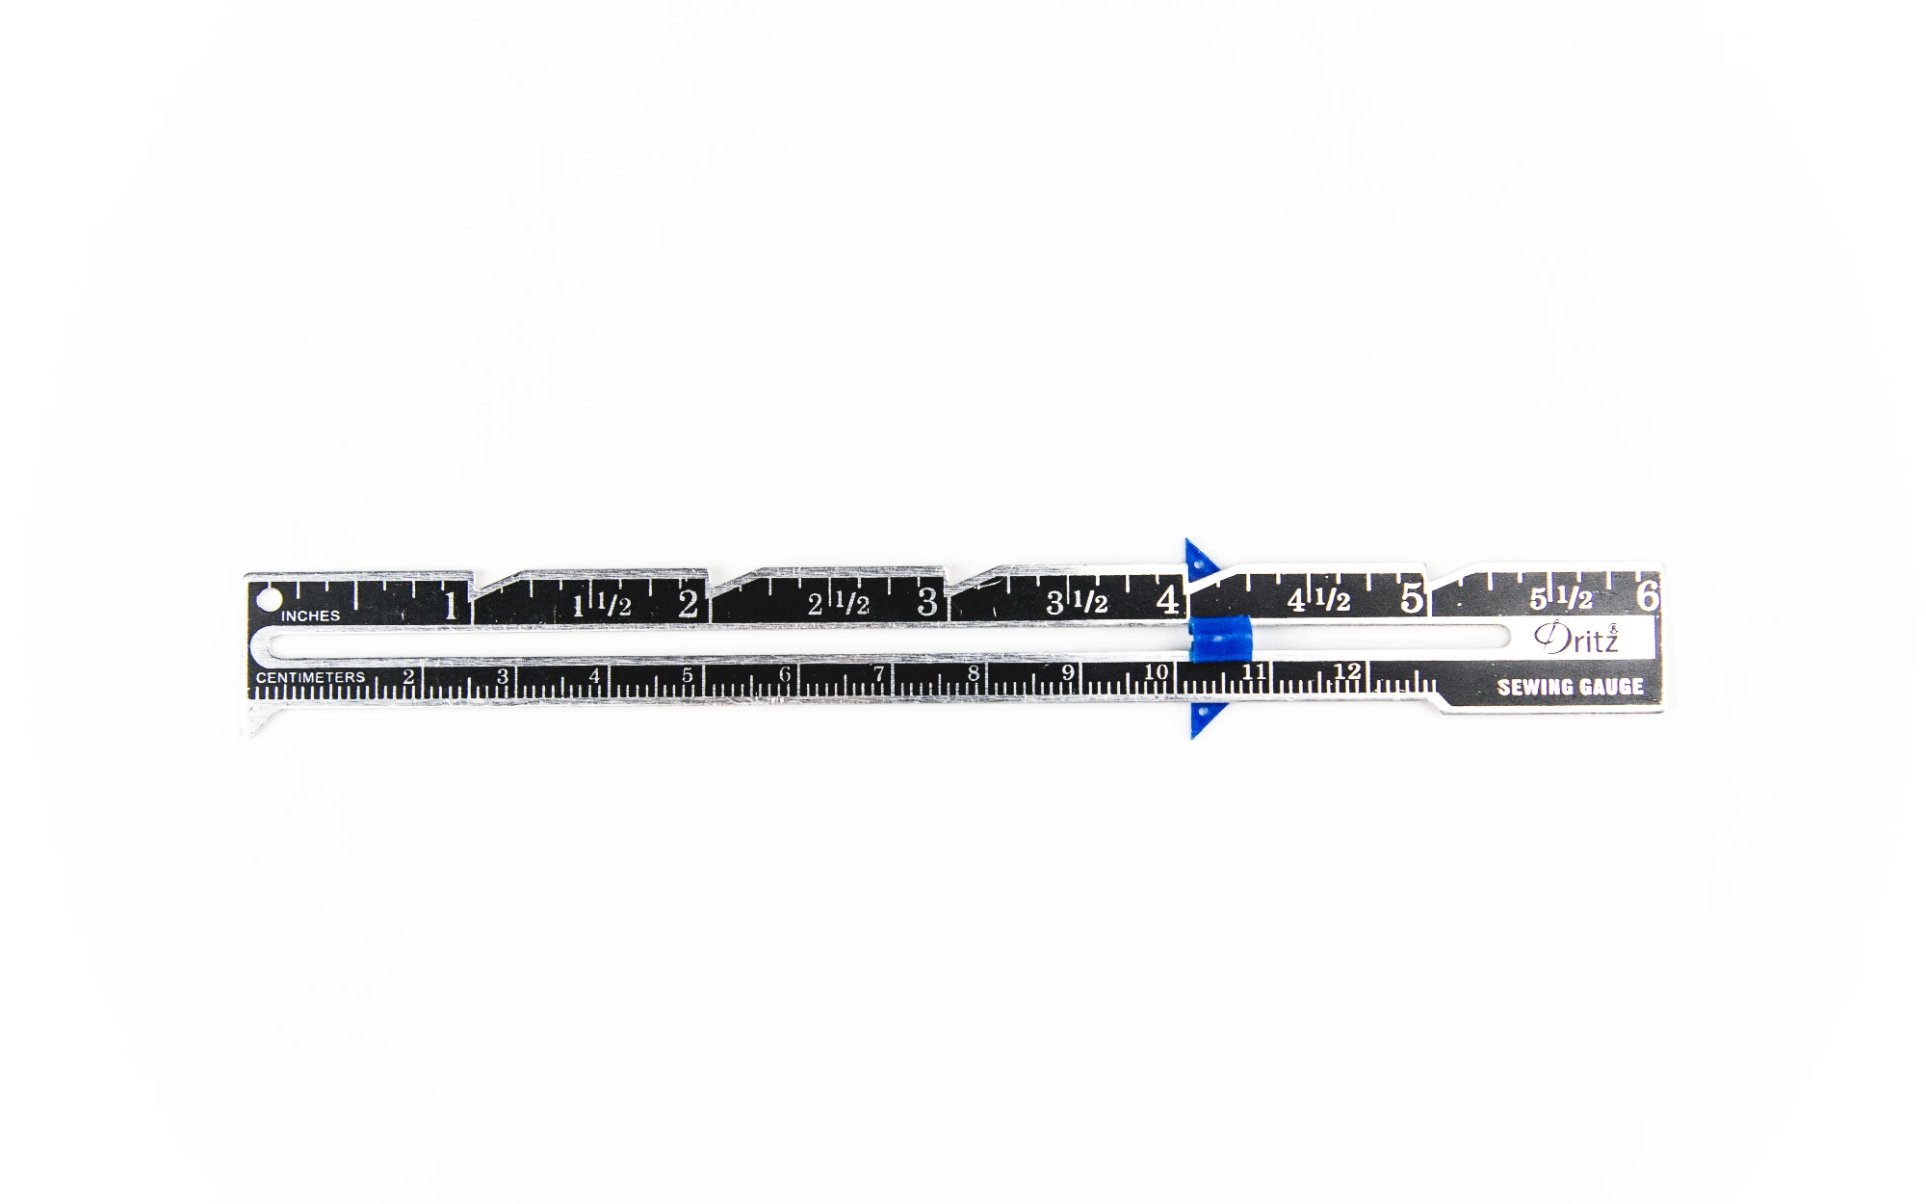
| Dritz Sewing Gauge | $8.42 | Metal | General sewing | Dual scale, tight slider | 4.5/5 |
| Clover Sliding Gauge | $12.72 | Plastic | Multi-purpose use | T-square design, 5 functions | 4.7/5 |
| Darice Measuring Gauge | $6.99 | Aluminum | Quilting | 14 pre-marked widths | 4.2/5 |
| Dritz Ezy-Hem Gauge | $15.45 | Heat-resistant plastic | Curved hems | Iron-safe, flexible | 4.4/5 |
| Clover Triangles Gauge | $11.65 | Sturdy plastic | Quilting triangles | Preset angles, durable | 4.6/5 |
Product Spotlight: Top Recommendations
Dritz Sewing Gauge – Best Overall
The Dritz Sewing Gauge ($8.42) delivers professional results with its metal frame and sliding marker. Users love how its dual measurement system (inches/cm) simplifies buttonhole spacing and pleat calculations.
Pros
- Durable metal construction
- Precise sliding mechanism
- Clear dual measurements
- Affordable price point
Cons
- Limited to straight measurements
- Slider can loosen over time
- No specialized markings
Clover Sliding Gauge – Most Versatile
For versatility, the Clover Sliding Gauge ($12.72) shines. Its T-square design handles five tasks, from drawing circles to setting hem depths. The rotating head locks measurements securely, preventing mid-project slips common with basic rulers.
Best Budget Option: Darice Measuring Gauge
The Darice Measuring Gauge offers 14 pre-marked widths on aluminum sides – perfect for quick quilt binding adjustments. While basic, it provides reliable measurements for hobbyists on a tight budget.
What Are the Best Sewing Gauge Brands?
Top brands consistently recommended by professionals include:
- Dritz – Known for durability and precision
- Clover – Innovative designs and multi-function tools
- Guidelines4Quilting – Specialized adhesive guides
- Madam Sew – Comprehensive gauge and guide sets
- Singer – Reliable basic models
Magnetic vs Traditional Seam Gauges
Want to speed up your sewing while maintaining precision? Magnetic tools offer unique benefits but come with specific considerations. These devices attach directly to your sewing machine plate, acting as a physical barrier that guides fabric edges effortlessly.
Advantages of Magnetic Seam Guides
- Hands-free operation – No need to hold the guide while sewing
- Consistent results – Physical barrier prevents fabric drift
- Quick adjustability – Easily reposition for different seam widths
- Universal compatibility – Works with most metal needle plates
“I stopped measuring every stitch – just glide the material along the magnet!” – Home Sewing Enthusiast
Limitations to Consider
While magnetic guides shine for edge-aligned seams, they struggle with interior lines. Quilters making half-square triangles often find them useless for diagonal stitching. The magnets also can’t assist with free-motion quilting designs that curve across the fabric surface.
Adhesive and Stick-On Seam Guides
A growing category in 2025, adhesive seam guides offer precision without magnetic interference. These removable guides feature reusable adhesive backing that maintains stickiness through multiple applications.
Why Adhesive Guides Are Gaining Popularity
- No magnetic interference – Safe for computerized machines
- Precise positioning – Place exactly where needed
- Reusable adhesive – Moves easily without residue
- Works on any surface – Not limited to metal plates
Brands like Guidelines4Quilting have perfected the adhesive formula, creating guides that stick securely during use but remove cleanly without leaving residue. Their “Super Easy Seam Guide Setter” has become particularly popular among quilters seeking scant 1/4″ precision.
Best Practices for Adhesive Guides
Clean the Surface
Remove any dust or oil from your machine’s needle plate before application.
Position Carefully
Measure twice before placing the guide. Use a fabric scrap to test positioning.
Press Firmly
Ensure complete contact to prevent shifting during sewing.
Test Before Sewing
Run a few test stitches to verify the guide stays in place.
How to Choose the Right Seam Gauge for Your Needs
Selecting the right measuring tool shapes your project outcomes more than you might realize. Start by analyzing your typical tasks: Are you piecing intricate quilts or adjusting garment hems?
Assessing Your Projects and Seam Allowance Needs
Match your tool to your most frequent measurements. Multi-width devices excel for mixed tasks like curtains and dresses, while single-mark models suit dedicated quilters. Consider how often you switch between tasks – magnetic guides simplify adjustments but lack angle flexibility.
Budget and Durability Considerations
Invest in aluminum or steel models if you sew daily – they withstand drops better than plastic. For tight spaces, compact designs under 6″ fit neatly into notion kits.
“My $15 gauge has outlasted three cheaper versions through weekly alterations.” – Professional Dressmaker
Balance upfront costs against long-term value. Entry-level tools work for seasonal crafters, while professionals should prioritize reinforced edges and rust-resistant materials. Always check storage dimensions against your workspace – oversized guides become countertop clutter.
Skill Level Matching
| Skill Level | Recommended Type | Key Features | Price Range |
|---|---|---|---|
| Beginner | Basic sliding gauge | Clear markings, simple design | $6-$10 |
| Intermediate | Multi-function gauge | Multiple measurement options | $10-$15 |
| Advanced | Specialized sets | Multiple gauges for different tasks | $15-$25 |
| Professional | Heavy-duty metal | Industrial quality, precise calibration | $20+ |
Do I Need a Sewing Gauge?
While not absolutely essential, a seam gauge dramatically improves accuracy and consistency in sewing. If you’re working on beginner sewing projects occasionally, it’s helpful but optional. For regular sewers or anyone wanting professional results, it’s highly recommended. The time saved from avoiding measurement errors and rework quickly justifies the small investment.
Expert Tips for Maintaining Accurate Seam Allowances
Achieving flawless seams requires more than steady hands – it demands smart strategies. Even seasoned crafters face challenges when specialty presser feet or thick materials throw off their measurements.
Techniques to Practice Consistency in Your Seams
Build muscle memory by aligning your fabric edge with the gauge’s marker before stitching. Press the guide firmly against your machine’s needle plate to prevent slippage. For slippery materials like satin, place painter’s tape along the tool’s edge for extra grip.
How to Read a Seam Gauge
Reading a seam gauge correctly ensures accurate measurements:
- Identify the zero point – Usually marked clearly at one end
- Set your slider – Move it to your desired measurement
- Lock the position – Ensure the slider won’t move during use
- Use the edge – Align fabric edge with the slider for consistent results
Video Tutorial: How to Use a Sewing Gauge

Learn proper sewing gauge techniques with this step-by-step video tutorial.
Using Accessories and Guides for Better Results
Combine your measuring tool with adjustable presser feet for layered precision. When working with bulky denim or stretch knits, attach a transparent quilting ruler to your machine bed. This creates a visual runway that keeps thick materials aligned.
For curved projects like circle skirts, wrap a flexible measuring tape around your gauge’s edge. The bendable surface maintains contact with uneven fabric edges better than rigid tools. Always clean metal guides after oiling your machine to prevent residue buildup that alters measurements.
Video Tutorial: Mark a 1/4″ Seam on Your Sewing Machine

Watch this helpful tutorial on setting up accurate 1/4″ seam allowances using various marking techniques.
What is the General Rule for Making Seams?
The fundamental rule for seam construction is consistency. Whether you choose 1/4″, 3/8″, or 5/8″ allowances, maintain that measurement throughout your project. Key principles include:
- Match seam allowances to your pattern requirements
- Use the same allowance for all pieces in a project
- Test on scraps before cutting final pieces
- Account for fabric stretch and thickness
- Finish raw edges to prevent fraying
Advanced Techniques and Professional Applications
Can a Seam Gauge be Used for Pattern Making?
Professional pattern makers frequently use seam gauges for precise measurements during pattern development. The tools excel at marking consistent seam allowances, notch placement, and design modifications. For pattern making, choose gauges with fine increment markings for maximum accuracy.
Multi-Function Gauge Sets for Professionals
Professional sewers often invest in comprehensive gauge sets that include:
- Standard 6″ sliding gauge – For general measurements
- Curved seam gauge – For shaped hems and armholes
- Triangle gauge – For quilting and bias work
- Magnetic guide set – Multiple sizes for different seam widths
Are Digital Seam Gauges Available?
Yes, digital versions are emerging with advanced features like:
- LCD displays for precise readings
- Memory functions to store frequently used measurements
- Conversion between metric and imperial units
- Audio alerts for measurement confirmation
Digital gauges typically cost $25-40 but offer unmatched precision for professional applications.
Seam Gauge vs Other Measuring Tools
What is the Difference Between a Seam Gauge and a Tape Measure?
While both measure distances, they serve different purposes:
| Feature | Seam Gauge | Tape Measure |
|---|---|---|
| Length | 6-7 inches | 60+ inches |
| Flexibility | Rigid | Flexible |
| Best Use | Repeated short measurements | Body measurements, large patterns |
| Accuracy | High for short distances | Can stretch over time |
| Marker | Sliding marker included | No built-in markers |
What is the Difference Between Seam Gauge and Seam Guide?
These terms are often confused but have distinct meanings:
- Seam Gauge: A measuring tool with markings and a sliding indicator
- Seam Guide: A physical barrier (magnetic or adhesive) that guides fabric during sewing
Many sewers use both tools together – the gauge to measure and mark, then the guide to maintain consistent spacing during actual stitching.
What is a Measuring Tape for Sewing Called?
In sewing, measuring tapes are simply called “tape measures” or “measuring tapes.” Professional seamstresses often prefer cloth tape measures over metal ones because they’re flexible and won’t stretch fabric during measurement. Unlike seam gauges, tape measures excel at body measurements and large pattern pieces.
Specialized Applications and Techniques
How to Use a Seam Guide Ruler
Seam guide rulers combine measurement and guidance functions:
Position the Ruler
Place the ruler under your presser foot with the needle aligned to your desired seam width hole.
Set the Guide
Attach your magnetic or adhesive guide parallel to the ruler edge.
Remove the Ruler
Carefully lift out the ruler, leaving the guide in perfect position.
Test and Sew
Run a test stitch to verify accuracy before starting your project.
Can a Sewing Gauge be Used for Knitting?
Yes, seam gauges work well for knitting applications, particularly for:
- Measuring gauge swatches
- Checking stitch and row counts
- Marking button placement
- Measuring sleeve lengths and increases
Knitters often prefer gauges with both metric and imperial markings since knitting patterns use various measurement systems.
Understanding Gauge Sizes in Different Contexts
When discussing gauge sizes in different applications:
- Wire gauge: Higher numbers = thinner wire (6 gauge is thicker than 10 gauge)
- Knitting gauge: Refers to stitches per inch
- Fabric gauge: Thread count or fabric weight
- Seam gauge: Refers to the tool’s length (typically 6 inches)
How to Tell Gauge Size?
For sewing gauges specifically, size refers to the tool’s length. Standard sizes include:
- 6-inch gauges: Most common, suitable for general sewing
- 7-inch gauges: Slightly longer range, often include point turners
- 4-inch mini gauges: Compact for travel or small projects
Troubleshooting Common Seam Gauge Issues
Solving Measurement Problems
Slider Won’t Stay Put
Problem: The sliding marker drifts during use, causing inconsistent measurements.
Solution: Clean the slider track with a dry cloth to remove lint buildup. If the problem persists, gently squeeze the slider mechanism with pliers to increase tension. For severely worn gauges, replacement is more cost-effective than repair.
Magnetic Guide Keeps Slipping
Problem: Magnetic seam guide moves during sewing, especially with thick fabrics.
Solution: Clean both the magnet and needle plate with rubbing alcohol to remove any oil residue. For heavy fabrics, use two smaller magnets instead of one large one for better stability.
Gauge Markings Are Hard to Read
Problem: Worn or faded measurement markings make accurate reading difficult.
Solution: Use a fine-point permanent marker to darken faded lines. For better visibility, place a piece of white paper behind clear plastic gauges while measuring.
Adhesive Guide Loses Stickiness
Problem: Reusable adhesive guides no longer stick properly.
Solution: Clean the adhesive surface with warm, soapy water. Rinse thoroughly and air dry. The adhesive should regain its stickiness once clean and dry.
When to Replace Your Seam Gauge
Consider replacement when:
- Slider mechanism is completely worn and won’t hold position
- Measurement markings are illegible
- Metal gauges show rust or corrosion
- Plastic gauges have cracks that affect accuracy
- Magnetic guides have lost significant holding power
Maintenance and Care for Long-Lasting Performance
Proper maintenance extends your seam gauge’s lifespan and ensures continued accuracy. Regular care prevents common issues and saves money on replacements.
Daily Care Routine
- Wipe clean after use – Remove lint and fabric fibers with a dry cloth
- Check slider operation – Ensure smooth movement before storing
- Store flat – Prevent warping by laying gauges flat in drawers
- Avoid dropping – Handle carefully to prevent calibration shifts
Deep Cleaning Process
Disassemble if Possible
Remove sliding parts for thorough cleaning when design allows.
Clean with Mild Soap
Use warm, soapy water for plastic gauges. Avoid soaking metal parts.
Dry Completely
Air dry all parts before reassembly to prevent rust.
Lubricate Moving Parts
Apply a tiny drop of sewing machine oil to slider mechanisms.
Storage Best Practices
Store seam gauges in a dedicated drawer or tool box to prevent damage. Avoid storing heavy items on top of them, which can bend or break the sliding mechanism. For magnetic guides, keep them away from sensitive electronic devices and credit cards.
Advanced Measuring Techniques
How Do You Measure Your Seam?
Accurate seam measurement involves several steps:
- Identify your starting point – Usually the needle position or stitching line
- Measure to the fabric edge – Use your seam gauge for consistency
- Account for fabric thickness – Thicker fabrics may require slight adjustments
- Test with scraps – Always verify measurements before cutting final pieces
- Document your settings – Keep notes for future projects
What Are the Benefits of Using a Seam Gauge?
Regular seam gauge use provides numerous advantages:
- Consistent results – Eliminates guesswork and variation
- Time savings – Faster than repeated measuring with tape measures
- Professional appearance – Even seams create polished results
- Reduced waste – Fewer mistakes mean less fabric waste
- Improved confidence – Accurate tools build sewing skills
- Better fit – Consistent allowances improve garment fit
How to Use a Seam Gauge for Beginners
New sewers can master seam gauge use with these simple steps:
Start with Basic Projects
Practice on simple sewing projects like pillowcases or tote bags.
Learn Your Machine’s Markings
Understand your sewing machine’s needle plate markings and how they relate to seam gauges.
Practice Consistency
Use the same measurement throughout practice projects to build muscle memory.
Test Before Cutting
Always test measurements on fabric scraps before cutting your project pieces.
Frequently Asked Questions
Conclusion
Mastering precise measurements opens new possibilities for your sewing journey. You now understand how different seam gauge types serve specific purposes, from traditional sliding gauges for versatile measuring to magnetic guides for hands-free operation and adhesive guides for precision without interference.
Essential Takeaways
- Choose based on your primary sewing tasks – Quilters benefit from 1/4″ specialized gauges, while garment sewers need variable measurements
- Quality matters for long-term use – Invest in metal construction if you sew regularly; plastic works for occasional use
- Combine tools for best results – Use gauges for measuring and guides for consistent sewing
- Regular maintenance extends tool life – Clean, store properly, and replace when accuracy suffers
- Practice builds confidence – Test new techniques on scraps before important projects
Whether you prioritize durable metal designs for daily use or compact plastic options for occasional projects, your choice will directly impact stitching consistency across years of creative work. The proper seam allowances you achieve will prevent the frustration of mismatched seams and uneven hems that plague many home sewers.
This guide has equipped you to evaluate features like adjustability, material longevity, and compatibility with your sewing machine. You’ll avoid common pitfalls like slipping sliders or incompatible magnetic guides by applying these tested selection criteria.
The right tool becomes an extension of your creative process, ensuring every stitch aligns perfectly. As you implement these strategies, new levels of efficiency will emerge in your workflow. Complex patterns transform into manageable tasks when your equipment supports rather than hinders your skills.
Ready to Get Started?
Your next step depends on your current sewing focus:
- New sewers: Start with a basic Dritz or Clover sliding gauge ($8-12) and magnetic guide set
- Quilters: Invest in a 1/4″ specialized gauge plus triangle gauge for precise piecing
- Garment makers: Choose a multi-function gauge with curved capabilities for varied projects
- Professionals: Build a complete set including digital options for ultimate precision
Remember to start with beginner-friendly sewing patterns to practice your new measuring skills. Combined with proper sewing machine maintenance, these precision tools will help you achieve consistently professional results.
Keep this guide bookmarked for quick reference during future upgrades or technique refinements. Your upgraded toolkit opens new opportunities for professional-grade results. Embrace the confidence that comes with knowing your measurements are locked in, project after project. Now go create something extraordinary – your precision is ready to shine.